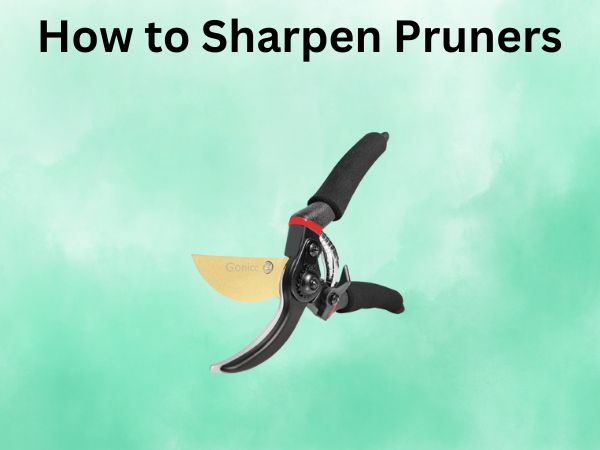
How to Sharpen Pruners [A Complete Guide In 2025]
Are your garden pruners struggling to make clean cuts? Don’t rush to replace them just yet! I’ll show you how to bring those trusty tools back to life with proper sharpening techniques. Whether you’re a seasoned gardener or just starting, this comprehensive guide will walk you through everything you need to know about sharpening pruners.
Understanding Your Pruning Tools
Before diving into the sharpening process, let’s get familiar with what we’re working with. Pruners are essential gardening tools, and understanding their components is crucial for proper maintenance.
Types of Pruners
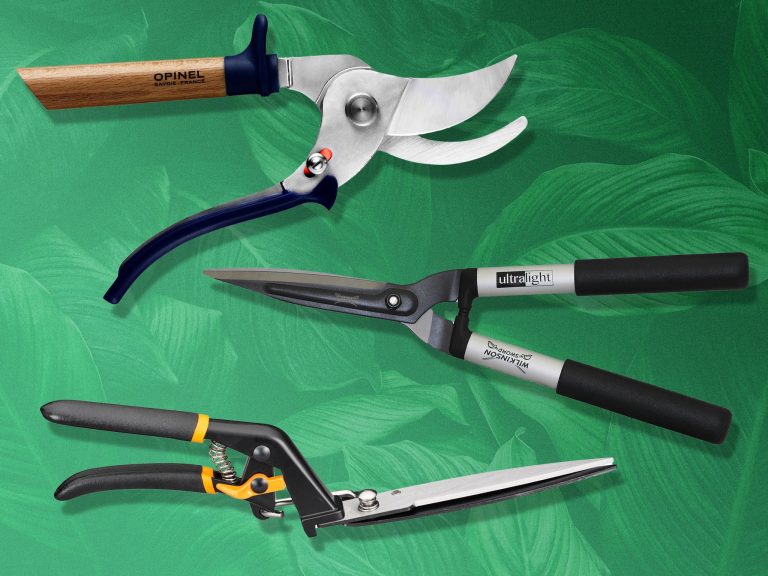
You might have bypass pruners, anvil pruners, or ratchet pruners in your garden shed. Each type requires slightly different sharpening approaches. Bypass pruners, the most common type, have two curved blades that pass by each other like scissors. Anvil pruners have one sharp blade that closes onto a flat surface, while ratchet pruners work similarly but with a ratcheting mechanism.
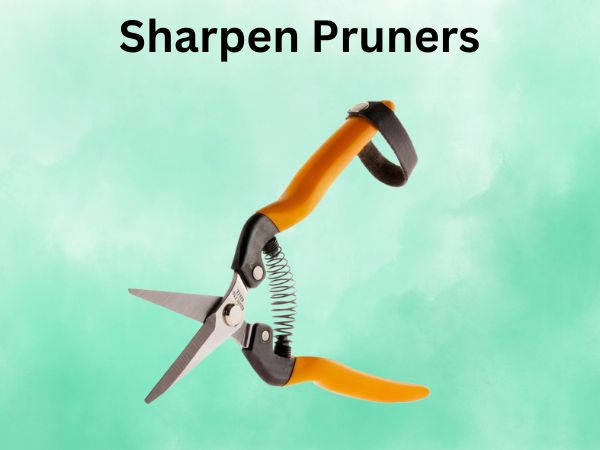
Anatomy of Pruning Shears
Let’s break down the key parts of your pruners:
- Cutting blade: The sharp, curved blade that does most of the work
- Counter blade: The supporting blade or anvil
- Pivot point: The bolt or screw that holds everything together
- Springs: Help the blades open automatically
- Handles: Usually covered with rubber or plastic for grip
Why Regular Sharpening Matters
Think of your pruners like a kitchen knife – regular sharpening isn’t just about making things easier; it’s about plant health too. Dull blades crush stems instead of cutting them cleanly, which can lead to disease and slow healing for your plants.
Signs Your Pruners Need Sharpening
You’ll know it’s time to sharpen when:
- Cuts require more force than usual
- Stems look crushed rather than cleanly cut
- Blades catch or stick during cutting
- You notice visible nicks or dull spots on the blade
Essential Tools for Sharpening
Sharpening Files and Stones
To get the job done right, you’ll need:
- Diamond file or whetstone
- Medium-grit sharpening stone
- Fine-grit finishing stone
- Wire brush for cleaning
- WD-40 or similar lubricant
Safety Equipment
Don’t skip on safety! You’ll want:
- Cut-resistant gloves
- Safety glasses
- Clean workspace
- Good lighting
Step-by-Step Sharpening Process
Cleaning and Disassembly
- Start by thoroughly cleaning your pruners with warm soapy water
- Remove rust with steel wool or wire brush
- Disassemble the pruners if possible, but don’t force stuck parts
- Apply penetrating oil to loosen stubborn bolts
Filing Technique
Here’s where the magic happens:
- Secure your pruners in a vise or hold them firmly
- Identify the original bevel angle (usually 20-25 degrees)
- Draw the file across the blade in one direction only
- Maintain consistent pressure and angle
- Follow the existing curve of the blade
Honing the Edge
After filing:
- Switch to a finer grit stone
- Use light, circular motions
- Work both sides of the blade
- Test sharpness carefully with paper
- Remove any burrs that have formed
Maintaining Your Sharpened Pruners
Storage Tips
Keep your newly sharpened pruners in top condition:
- Store in a dry place
- Use blade covers when not in use
- Hang them up rather than tossing in a drawer
- Keep them away from fertilizers and chemicals
Regular Maintenance Schedule
Create a maintenance routine:
- Clean after each use
- Oil moving parts weekly
- Quick touch-up sharpening monthly
- Deep cleaning and thorough sharpening seasonally
Troubleshooting Common Issues
Even with regular maintenance, you might encounter:
- Rust spots: Remove with steel wool and apply oil
- Sticky movement: Clean and lubricate pivot point
- Misaligned blades: Adjust tension screw
- Persistent dullness: Check for hidden damage
Frequently Asked Questions
- How often should I sharpen my pruners?
For regular users, sharpening every 4-6 weeks is ideal. Heavy users might need to sharpen more frequently.
- Can I sharpen my pruners without taking them apart?
Yes, though disassembly allows for better access and more thorough sharpening.
- What’s the best angle for sharpening pruner blades?
Most pruners work best when sharpened at a 20-25 degree angle, following the original bevel.
- Should I sharpen both blades on bypass pruners?
Focus mainly on the cutting blade; the counter blade rarely needs sharpening unless damaged.
- How do I know if my pruners are beyond sharpening and need replacement?
If the blades are deeply pitted, cracked, or severely misaligned, it’s time for new pruners.
Conclusion
Sharpening your pruners isn’t just about maintaining tools – it’s about showing love to your garden. With these steps and regular maintenance, your pruners will reward you with clean cuts and healthy plants for years to come. Remember, sharp tools make gardening more enjoyable and help your plants thrive.