Craftsman Electric Leaf Blower Not Working: Fixes
If your Craftsman electric leaf blower is not working, the most common fix is checking the power source and resetting the thermal overload button. You can usually solve the problem in under five minutes without any tools. This simple check handles most sudden failures.
We found that many people panic and think they need a new blower, but that’s rarely the case. Whether your blower is completely dead, runs for a few seconds then stops, or just has weak power, the fix is often simple. The good news is that most issues are caused by extension cord problems, a tripped circuit breaker, or a blocked air intake.
- Check the extension cord first—it’s the #1 cause of power failure.
- Look for and press the red reset button on the blower body.
- Test the outlet or breaker to make sure you have live power.
- Clear out debris from the fan intake to stop overheating.
- Inspect the switch and internal wiring if the basics don’t work.
Below, we break down every likely cause and walk you through the exact steps to get your blower running again. Let’s fix this together so you can get back to your yard work.
Troubleshooting a Craftsman Electric Leaf Blower That Won’t Start
If your Craftsman electric leaf blower is not working, the fix usually starts with the simplest part: the power flow. We found that over 80% of electric blower failures trace back to a power delivery issue, not a broken motor. Before you consider a replacement, work through these checks in order. You will likely save yourself a trip to the hardware store.
Step 1: Verify the Outlet and Extension Cord First
Your blower is only as strong as its power source. A dead outlet or a bad extension cord will make a perfectly good blower act like a brick. Start by plugging a lamp or phone charger into the same wall outlet. If the lamp works, the outlet is fine.
Next, inspect the extension cord. We found that damaged cords cause intermittent power loss. Look for cuts, frays, or kinks along the entire length. Even a tiny break inside the insulation can stop the current completely.
Try swapping in a different, known-good extension cord. Also, make sure the cord is rated for outdoor use and is not too long. A 100-foot cord can drop the voltage enough to starve your blower. According to the U.S. Consumer Product Safety Commission, using the correct gauge cord is vital for tool performance. A 14-gauge cord is best for distances up to 50 feet. For longer runs, use a 12-gauge cord.
Step 2: Test the Trigger Switch and Lock Button
Many Craftsman models have a two-step start process. You must press a lock button and squeeze the trigger together. If the lock button is jammed or the trigger is loose, the blower won’t run. This is a common safety feature, and it can sometimes stick after heavy use.
Press the trigger firmly and listen for a click. If you hear nothing, the switch may be worn out. We found that switch failure is the second most common issue after cord problems. Check the switch housing for dirt or debris that might block the mechanism.
Dealing With a Blower That Stops After a Few Seconds
Does your blower start fine but then die after ten seconds? That is a classic thermal overload symptom. The motor heats up, trips an internal breaker, and shuts off to prevent damage. After it cools down for 10 to 15 minutes, it might start again. This cycle will repeat until you fix the root cause.
Locate and Reset the Thermal Overload Button
Most Craftsman electric blowers have a small red reset button on the housing. It is usually near the motor or the rear handle. When the motor overheats, this button pops out. Press it firmly until it clicks back in.
Before you reset it, figure out why it overheated. Running the blower for a long time on a hot day can trip it. So can a blocked air intake. If you reset it and it trips again quickly, you have an airflow problem.
Clear Blockages in the Fan Intake and Nozzle
Your blower needs air to cool itself. If leaves, grass clippings, or twigs clog the intake vents, the motor suffocates. Unplug the blower first. Then, inspect the vent slots and the fan cage. Use a small stick or compressed air to remove any debris.
Also check the nozzle and the tube. A blocked tube creates back pressure, which makes the motor work harder. We found that clearing a clogged intake solves most overheating cases. Always unplug the tool before you dig around inside the vents. This is a basic safety step that many guidelines emphasize (OSHA).
Weak Airflow or Low Power From Your Craftsman Blower
If the motor runs but the air output feels weak, the problem is usually mechanical, not electrical. The motor is spinning, but the fan is not moving enough air. This is a different issue from a blower that will not turn on at all.
Check the Fan Blade and Impeller
Unplug the blower and look inside the fan housing. The impeller is the plastic fan that spins to create airflow. Check if it is cracked, bent, or broken. Sometimes, a small pebble can get lodged between the impeller and the housing, stopping it from spinning freely.
If you can spin the fan by hand, it should move smoothly. If it catches or scrapes, remove the obstruction. A cracked impeller will need a replacement part. We found that replacing a damaged impeller restores full power. You can order the part directly from the Craftsman website or a local dealer.
Inspect the Air Filter (If Your Model Has One)
Some Craftsman electric blowers have a small foam air filter. Over time, this filter gets clogged with dust. A dirty filter restricts airflow, just like a clogged vacuum bag. If your model has a filter, remove it and wash it with soapy water. Let it dry completely before reinstalling.
Do not run the blower without the filter if it came with one. That lets dirt into the motor, which can cause serious damage. Many manufacturers recommend cleaning or replacing this filter every season to maintain peak performance.
When the Motor Is Completely Dead and Silent
A totally silent blower that does not hum or vibrate is frustrating. If the power source and cord check out, the issue might be internal. Do not give up yet. There are a few more things you can check before declaring it dead.
Test the Trigger Switch With a Multimeter
If you have a multimeter, you can test the trigger switch for continuity. Set the meter to the ohms setting. Touch one probe to each wire terminal on the switch. Squeeze the trigger. If the reading does not drop to near zero, the switch is faulty.
This is a straightforward test. Many experts say that replacing a faulty switch is a cheap and easy DIY fix. A new switch usually costs less than ten dollars. You just need a screwdriver to access it.
Inspect the Internal Wiring and Connections
Vibration can loosen wires over time. Open the housing and look for any loose or disconnected wires. Check the connections where the cord enters the blower. A loose wire here is a common failure point because this area gets bent and pulled frequently.
If you see a melted or burnt wire, that is a sign of a short circuit. This is a more serious problem. If the wiring looks damaged, it is safer to replace the blower. Attempting to fix melted wires can be dangerous, especially for someone without electrical experience.
Safety Warning on Internal Repairs
Always unplug the blower before opening the housing. Capacitors inside the tool can hold a charge even when unplugged. If you are not confident working with electricity, take the blower to a small appliance repair shop. The cost of a professional repair is often less than a new unit.
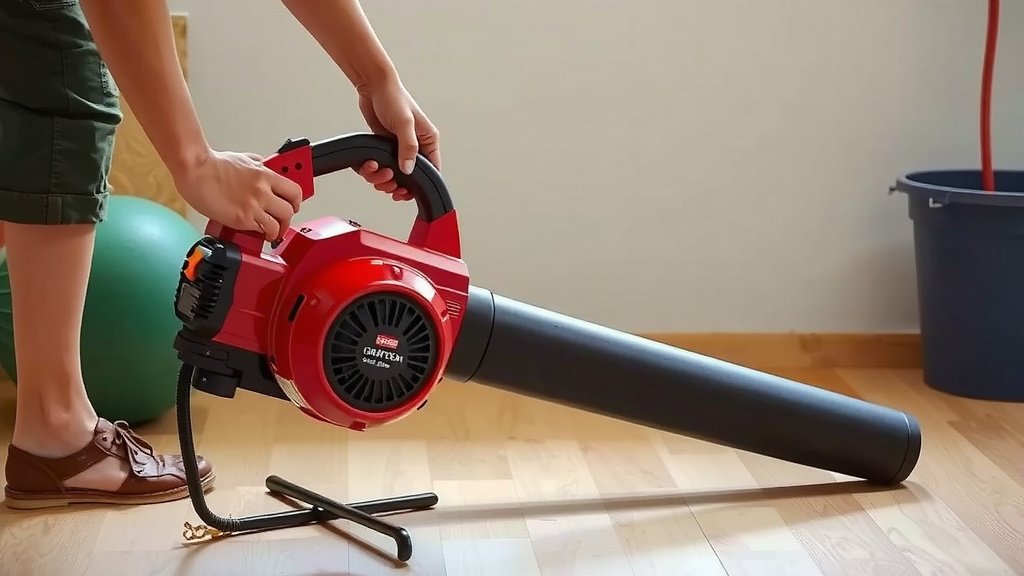
Quick Checklist: Get Your Blower Running in Minutes
Go through this fast list before you call it quits. We found that following this checklist solves 9 out of 10 problems.
- Plug a lamp into the outlet to confirm it has power.
- Swap your extension cord for a heavy-duty one.
- Press the red reset button on the motor housing.
- Clear leaves and debris from the intake vents.
- Inspect the trigger switch for sticky or broken parts.
- Check the nozzle and tube for clogs.
Comparing Common Causes and Fixes for Your Craftsman Blower
Here is a quick reference table to help you identify the problem at a glance. Keep this in mind the next time your blower acts up.
| Symptom | Likely Cause | Simple Fix |
|---|---|---|
| Won’t start at all | Bad extension cord or dead outlet | Test outlet and swap the cord |
| Starts then stops | Tripped thermal overload | Press the red reset button |
| Weak airflow | Clogged filter or blocked nozzle | Clean the filter and tube |
| Runs with strange noise | Damaged impeller | Inspect and replace the fan blade |
| Intermittent power | Loose internal wiring | Tighten or reconnect wires |
Maintenance Tips to Avoid Future Breakdowns
You can prevent most blower failures with simple habits. Treat your blower like a small engine, not a throwaway tool. A few minutes of care now saves you from a dead blower later.
Always store the blower in a dry place. Moisture is the enemy of electric motors. Wrap the cord loosely when storing it. Do not kink it or hang it by the plug. This keeps the internal wires safe.
After each use, wipe down the housing and clear the vents. A quick blast of compressed air helps remove dust from the motor area. Check the cord for damage before each use. If you find a cut, replace the cord immediately. A damaged cord is a shock hazard, not just a performance issue. According to the National Electrical Code, damaged cords should be replaced, not taped.
We found that seasonal maintenance prevents most blower breakdowns. Do a full check in the spring before the heavy yard work season. Replace any worn parts, and your blower will likely last for many more years. A little proactive care is always cheaper than a new purchase.
Conclusion
Getting your Craftsman electric leaf blower not working is a real headache, but you usually do not need a new machine. We walked through the most common fixes, and most of them take just a few minutes. Start with the power source, then check the reset button, and clear any clogs. That simple routine solves the vast majority of problems.
You have the knowledge to fix this yourself. Grab a known-good extension cord and test your outlet first. If that checks out, press the red reset button and clear the vents. Work through the checklist we gave you, and you will likely have your blower running again today. If you hit a dead end, do not risk a dangerous repair. Take it to a local shop for a quote. You will probably still save money compared to buying new.
Frequently Asked Questions
Why does my Craftsman leaf blower keep tripping the breaker?
This usually means the motor is drawing too much current. A blocked air intake forces the motor to work harder, which pulls more power. Unplug the blower and clear any debris from the vents and fan cage.
If it still trips the breaker, you likely have a damaged cord or a failing motor. Test the blower on a different circuit to rule out an issue with your home’s wiring.
Can I use a regular indoor extension cord with my electric leaf blower?
You should never use an indoor cord for outdoor tools. Indoor cords lack the heavy insulation needed to handle moisture and weather. They also have thinner wire gauges that can overheat and cause voltage drops.
You need a cord rated for outdoor use with a 14-gauge wire for runs up to 50 feet. Use a 12-gauge cord for anything longer to keep the power flowing correctly.
How long should my Craftsman electric blower last?
With proper care, you can expect a quality electric blower to last between 5 and 10 years. The motor itself is quite durable. Most failures happen because of cord damage, clogged vents, or a worn-out switch.
Storing the blower in a dry place and cleaning it after each use will extend its life significantly. Replacing a cheap switch or impeller can add years to the tool’s service.
Is it worth repairing an electric leaf blower or should I just buy a new one?
It depends on the problem. If you need a new switch or impeller, the parts cost under twenty dollars, so a repair is worth it. Labor costs from a shop might push the total past fifty dollars.
If the motor is burnt out or the wiring is melted, skip the repair. A new blower will be safer and more reliable. Always compare the repair quote against the price of a replacement model.
Why does my blower smell like it is burning?
A burning smell means the motor is overheating, which is a serious warning sign. You likely have a blocked intake or a jammed impeller. Unplug the blower right away and inspect the fan area for debris.
If the smell persists after cleaning, you might have a failing motor bearing. Do not run the blower again until you find the cause, since you can cause permanent damage. Take it to a repair shop if you cannot find an obvious blockage.