
How to Sharpen Felco Pruners [Step-by-Step Guide]
To sharpen Felco pruners, first clean the blades thoroughly. Using a diamond file, maintain the original 23-degree bevel angle and make smooth strokes away from the cutting edge. Only sharpen the moving blade, not the anvil blade. After filing, finish with a sharpening stone using light, circular motions for a finer edge. Clean the blade, apply light oil, and test the sharpness on a small branch.
Ever noticed your trusty Felco pruners aren’t making those clean cuts like they used to? Don’t worry – I’ll walk you through everything you need to know about bringing your pruners back to their former glory. As someone who’s been maintaining garden tools for over a decade, I can tell you that proper sharpening isn’t just about having sharp blades – it’s about extending the life of your valuable tools.
Understanding Your Felco Pruners
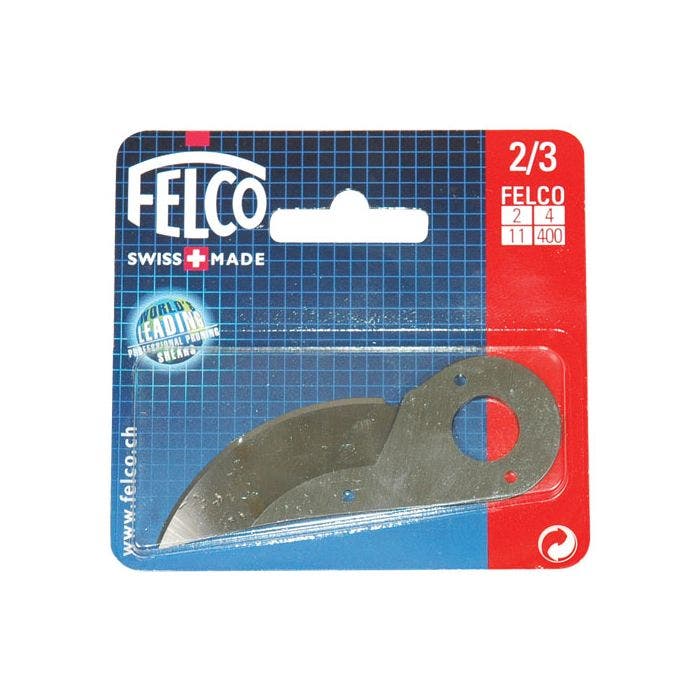
Parts of Felco Pruners
Before we dive into sharpening, let’s get familiar with what we’re working with. Felco pruners consist of two main blades: the cutting blade and the anvil blade. The cutting blade is the one that needs regular sharpening, while the anvil blade primarily serves as a support. Think of it like a pair of scissors, but much more heavy-duty!
Why Regular Sharpening Matters
Just like a chef’s knife, pruner blades dull over time. Dull blades don’t just make your job harder – they can actually harm your plants. When you use dull pruners, you’re more likely to crush stems rather than cut them cleanly, which can lead to disease and slow healing. Regular sharpening ensures clean cuts and reduces the effort needed to prune, saving your hands from unnecessary strain.
Essential Tools for Sharpening
Recommended Sharpening Equipment
To sharpen your Felco pruners effectively, you’ll need:
- A diamond file (medium and fine grit)
- A sharpening stone
- A cleaning cloth
- Lubricating oil
- A small brush
- A marker pen
Safety Gear You’ll Need
Don’t skip on safety! You’ll want:
- Cut-resistant gloves
- Safety glasses
- A stable work surface
- Good lighting
Preparing Your Pruners for Sharpening
Cleaning and Disassembly
Start by thoroughly cleaning your pruners. Remove any sap, dirt, or plant material using warm, soapy water and a brush. Some people skip this step, but trust me – trying to sharpen dirty pruners is like trying to paint a dirty wall. It just doesn’t work as well.
Inspecting for Damage
Before sharpening, examine your pruners for any damage. Look for:
- Nicks in the blade
- Rust spots
- Loose parts
- Misalignment issues
Step-by-Step Sharpening Process
Determining the Correct Angle
The secret to proper sharpening lies in maintaining the original bevel angle, typically around 23 degrees for Felco pruners. If you’re visual like me, imagine holding your file at roughly the same angle as the existing bevel. This maintains the manufacturer’s specifications and ensures optimal cutting performance.
Using a Diamond File
Start with the diamond file:
- Secure your pruners in an upright position
- Draw along the cutting edge with your marker
- Following the original bevel, make smooth strokes away from the cutting edge
- Continue until the marker line disappears evenly
- Maintain consistent pressure throughout
Finishing with a Sharpening Stone
After using the diamond file, switch to your sharpening stone for a finer edge:
- Use light, circular motions
- Work from base to tip
- Feel for any rough spots
- Polish until smooth
Maintenance and Care
Post-Sharpening Care
Cleaning and Oiling
After sharpening, wipe down the blades with a clean cloth and apply a light coat of oil. This prevents rust and keeps the mechanism moving smoothly. Think of it as giving your pruners a spa treatment – they’ve earned it!
Storage Tips
Store your freshly sharpened pruners in a dry place, preferably hanging up or in their original holster. I like to keep a silica gel packet nearby to absorb any moisture – it’s a small trick that makes a big difference in preventing rust.
Troubleshooting Common Issues
Sometimes you might encounter:
- Uneven sharpening: Return to the diamond file and ensure even pressure
- Over-sharpening: Take it slow, you can always remove more material but can’t add it back
- Blade alignment issues: Check the central bolt and adjust as needed
Frequently Asked Questions
How often should I sharpen my Felco pruners?
Most gardeners should sharpen their pruners every 4-6 weeks during heavy use seasons, or whenever you notice they’re not cutting as cleanly as before.
Can I use an electric sharpener on my Felco pruners?
While electric sharpeners exist, I don’t recommend them for Felco pruners. They can remove too much material too quickly and may alter the crucial cutting angle.
What’s the best angle for sharpening Felco pruner blades?
The optimal angle is 23 degrees, which matches the manufacturer’s specifications. However, maintaining the existing bevel angle is most important.
How do I know if I’m over-sharpening my pruners?
If you notice a thin wire edge forming or if the blade feels too thin, you may be over-sharpening. Always test the blade after a few strokes to avoid removing too much material.
Should I sharpen both blades of my Felco pruners?
No, only sharpen the cutting blade (the one that moves). The anvil blade (the stationary one) rarely needs sharpening unless damaged.
Conclusion
Sharpening your Felco pruners isn’t just about maintenance – it’s about respecting your tools and ensuring they can serve you well for years to come. With regular care and proper sharpening technique, your pruners will reward you with clean cuts and reliable performance season after season.