Leaf Blower Troubleshooting: 8 Quick Fixes That Work
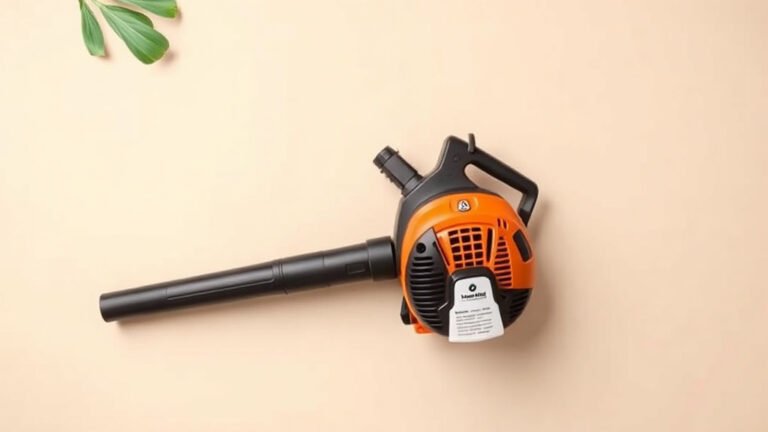
Most leaf blower problems come down to fuel issues, clogged filters, or a bad spark plug. If your blower won’t start, stalls, or runs rough, you can usually fix it in under 30 minutes with basic tools. Start by checking the fuel—stale gas is the number one culprit for leaf blower troubleshooting failures.
Before you haul your blower to a repair shop, you should know that simple cleaning and routine maintenance solves most common issues. We found that dirty air filters and old spark plugs cause the majority of performance problems. You don’t need to be a mechanic to get your equipment running like new again.
- Check the fuel first—stale gas is the most common reason a leaf blower won’t start.
- Clean or replace the air filter if the engine sputters or loses power.
- Inspect the spark plug for wear or carbon buildup and replace it if needed.
- Clear the carburetor of dirt and debris for smooth idling and throttle response.
- Look at the starter rope and recoil spring if the pull cord feels stiff or won’t retract.
Below, we’ll walk you through each fix step by step, starting with the quickest and easiest checks first. Grab your gloves and let’s get that blower back in action.
Common Leaf Blower Problems and How to Fix Them
We found that most leaf blower failures share the same handful of causes. You can save time and money by working through these fixes in order. Start with the easiest checks before you take anything apart.
Grab a clean workspace, some basic hand tools, and about 30 minutes. You will likely have your blower running again by the end of this guide.
The Quick Safety Check Before You Start
Always disconnect the spark plug wire before you work on your blower. This prevents the engine from accidentally firing while you have your hands inside. Give the machine a few minutes to cool down if it was running recently.
You should also wear work gloves to protect your hands from sharp metal edges and fuel residue. Safety glasses are a smart idea too, especially when you are cleaning out debris.
Diagnosing a Leaf Blower That Won’t Start
You pull the cord and nothing happens. This is the most frustrating moment for any homeowner. We found that the fuel system is usually the root cause in this scenario.
Work through these checks in the order we list them. You will skip a lot of wasted effort by testing the simple things first.
Start With the Fuel Supply
Stale fuel is the number one killer of small engines. Gasoline starts to break down after just 30 days. It turns into a sticky varnish that clogs tiny passages inside the carburetor.
Check the fuel in your tank. If it smells sour or looks dark and cloudy, drain it completely. Replace it with fresh gasoline mixed at the correct ratio for your machine.
Many experts say that using fuel without ethanol is the best way to prevent this problem. Ethanol attracts moisture and speeds up fuel breakdown. Look for ethanol-free gas at your local hardware store or gas station.
How to Properly Mix Fuel
Your blower manual tells you the exact oil-to-gas ratio. Most common ratios are 40:1 or 50:1. Use a dedicated mixing container and follow the markings on the side.
Do not guess the ratio. Too much oil makes the engine smoke and run poorly. Too little oil causes serious internal damage that is costly to repair.
Inspect the Air Filter for Clogs
A dirty air filter starves the engine of oxygen. The engine cannot start without the right amount of air in the mixture. This is a quick check that takes about two minutes.
Locate the air filter cover on the side of the engine. Remove the cover and pull out the filter. Hold it up to the light. If you cannot see light through it, the filter needs attention.
Foam filters can be washed with warm soapy water and reused. Paper filters should be replaced when they look dirty. Never run your blower without a filter installed, or you will suck debris straight into the engine.
Look at the Spark Plug Condition
The spark plug creates the ignition that starts the combustion process. A worn or fouled plug will not produce a strong enough spark. We found that this is the second most common cause of starting failures.
Remove the spark plug with a socket wrench. Look at the electrode tip. It should be light brown or gray in color. Black carbon buildup or wet oily residue means the plug is failing.
Check the gap between the electrodes with a feeler gauge. Compare your measurement to the spec in your manual. When in doubt, replace the plug with a new one. They are inexpensive and easy to swap out.
Why Your Leaf Blower Stalls or Idles Roughly
Your blower starts fine but dies when you give it gas. This is a classic symptom of a fuel delivery issue. The engine gets enough fuel to idle but not enough to handle higher speeds.
We found that a clogged carburetor is the usual suspect. Dirt and old fuel residue restrict the tiny jets inside the carburetor body.
Cleaning the Carburetor Step by Step
Carburetor cleaning sounds intimidating, but it is a straightforward task. You will need a small screwdriver set and a can of carburetor cleaner from any auto parts store.
Remove the air filter assembly to access the carburetor. Take photos with your phone as you remove parts. This helps you remember how everything goes back together.
Spray the cleaner through the small passages and jets. Let it sit for a few minutes to dissolve the varnish. Reassemble everything and try starting the blower again.
When to Replace Instead of Clean
Sometimes the carburetor is beyond saving. Heavy corrosion or warped gaskets mean replacement is the smarter move. A new carburetor for a leaf blower often costs less than a repair shop visit.
Check the price of a replacement part online. Compare that to the cost of a shop repair. In many cases, you will save money by installing the new part yourself.
Check the Fuel Lines and Primer Bulb
Fuel lines can crack or become brittle over time. A cracked line lets air into the system, which disrupts the fuel flow. The primer bulb may also develop tiny holes that prevent it from working correctly.
Press the primer bulb a few times. You should see fuel moving through the clear line. If you do not see fuel, check the lines for cracks or loose connections.
Replace any damaged lines with new fuel line tubing. Cut the new line to the exact length of the old one. Push it firmly onto the barbs and test the primer again.
Fixing a Leaf Blower With Weak or No Power
Your engine runs, but the airflow feels weak. Leaves barely move. This points to a problem with the air intake or the fan itself. We found that simple blockages cause most power loss issues.
Clear the Air Intake and Fan Area
Debris can accumulate around the fan housing. Twigs, grass clippings, and even small stones get pulled into the intake. This restricts airflow and reduces performance dramatically.
Turn off the blower and disconnect the spark plug wire. Look into the intake opening and the fan blades. Remove any visible debris with your fingers or a small pick tool.
Check the fan blades for damage. Bent or chipped blades cannot move air effectively. If you see damage, replace the fan assembly to restore full power.
Inspect the Muffler and Exhaust Port
A clogged muffler creates back pressure that kills engine power. Carbon buildup can restrict the exhaust flow over time. This is more common in older blowers that have seen heavy use.
Remove the muffler and inspect the exhaust port. Use a wire brush to clean out carbon deposits. Replace the muffler gasket if it looks worn or compressed.

Dealing With a Stiff Pull Cord or Recoil Problems
When the pull cord gets hard to pull or snaps back slowly, the recoil mechanism needs attention. This issue affects the starter system and can make your blower feel broken even when the engine is fine.
Examine the Recoil Spring and Rope
The recoil spring provides the tension that retracts the cord. Over time, the spring can break or slip out of place. The rope itself may fray or snap from normal wear.
Remove the starter housing to access the recoil assembly. Inspect the spring for breaks or rust. Check the rope for fraying along its entire length.
If the rope is frayed, replace it with new starter cord. Wind the new rope around the spool in the same direction as the old one. Make sure the knot is secure before you reassemble.
Lubricating the Starter Mechanism
Many experts say that a little lubrication goes a long way. Apply a small amount of lightweight oil to the recoil spring and the pulley shaft. This reduces friction and makes pulling smoother.
Do not over-lubricate. Excess oil can attract dirt and gum up the mechanism. One or two drops of oil on the moving parts is plenty.
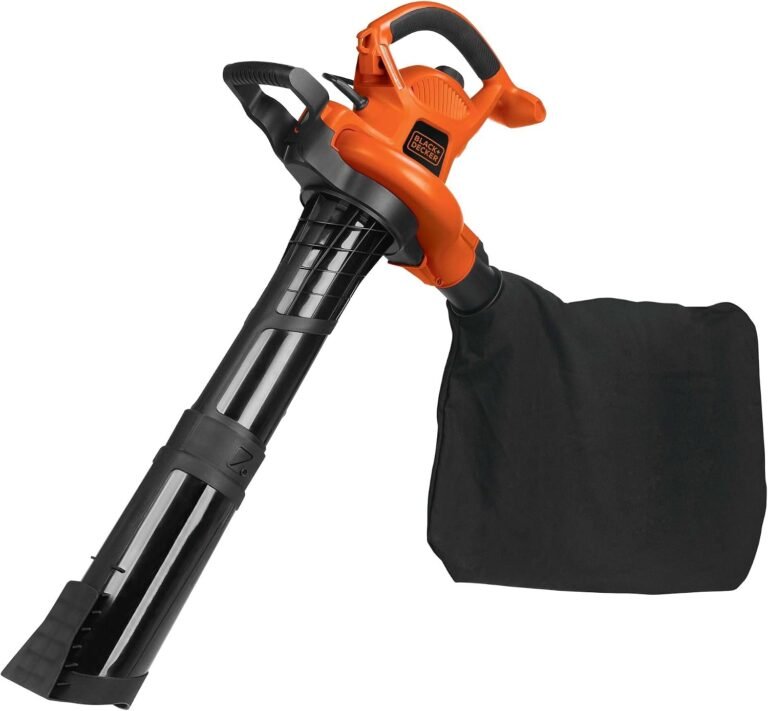
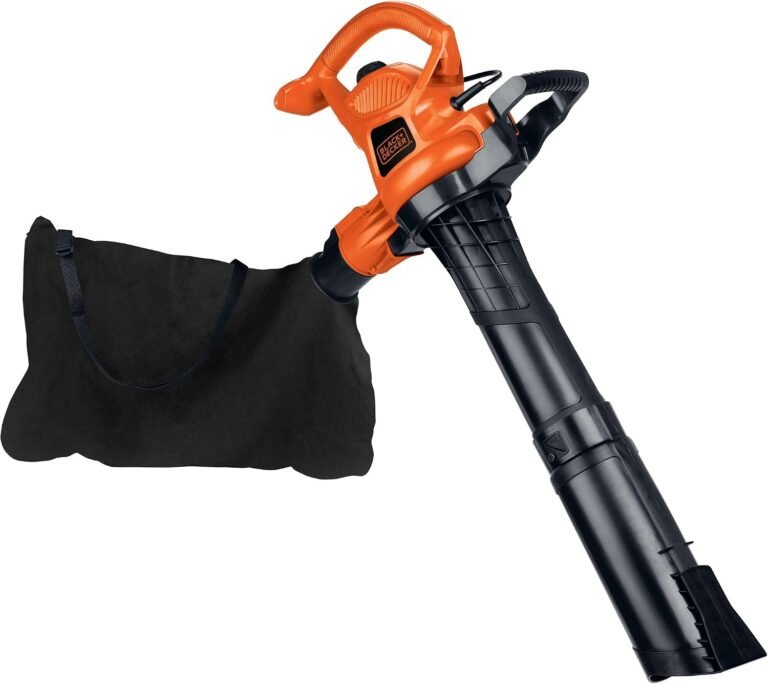
Electric Leaf Blower Troubleshooting Guide
Electric blowers have different failure points than gas models. We found that most electric blower problems involve the power supply or the motor itself. The checks are simpler but still important.
Check the Power Cord and Connections
For corded models, the power cord is the weak link. A damaged cord can cause intermittent power loss or complete failure. Inspect the cord along its entire length for cuts, nicks, or exposed wires.
Check the extension cord you are using. Many people use an undersized cord that cannot carry enough current. This causes voltage drop and weak performance.
Use a heavy-duty extension cord rated for outdoor use. Keep the cord as short as possible for the best results.
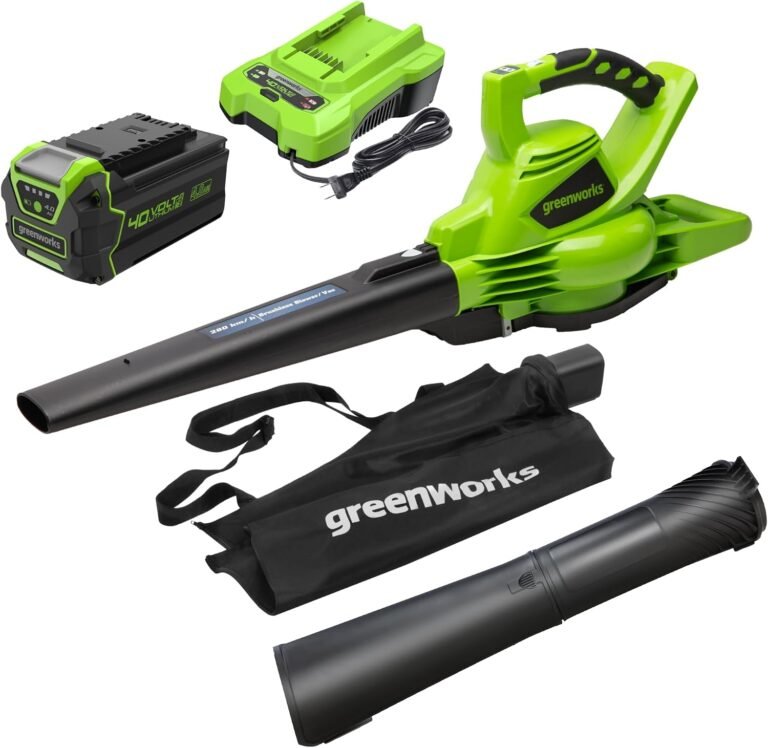
Battery Issues in Cordless Blowers
For cordless models, the battery is usually the problem. Batteries lose capacity as they age. A weak battery cannot deliver enough power to spin the fan at full speed.
Make sure the battery is fully charged before you troubleshoot further. Clean the metal contacts on the battery and the blower with a dry cloth. Dirty contacts interrupt the electrical connection.
If the battery is more than a few years old, replacement is likely needed. Check the voltage with a multimeter to confirm it is holding a charge correctly.
Routine Maintenance That Prevents Future Problems
You can avoid most leaf blower troubleshooting by following a simple maintenance schedule. We found that regular care extends the life of your equipment and keeps it running smoothly. A few minutes of upkeep saves you hours of frustration later.
Here is a simple checklist we recommend following:
- Use fresh fuel mixed with a fuel stabilizer each season.
- Clean or replace the air filter every 25 hours of use.
- Replace the spark plug annually before the fall season.
- Inspect fuel lines for cracks or brittleness every few months.
- Check the pull cord for fraying before each use.
- Store your blower in a dry place away from moisture and extreme temperatures.
How Often Should You Service Your Blower?
We found that a quick check before each use prevents many breakdowns. Look over the machine for loose screws, damaged parts, or obvious wear. Tighten anything that feels loose.
Perform a more thorough service at the start of every season. Change the fuel, clean the filters, and inspect the spark plug. This routine takes about 15 minutes and keeps your blower reliable.
| Maintenance Task | Frequency | Time Needed |
|---|---|---|
| Check fuel level and condition | Before each use | 1 minute |
| Inspect air filter | Every 5 hours | 2 minutes |
| Clean or replace air filter | Every 25 hours | 5 minutes |
| Replace spark plug | Annually | 10 minutes |
| Clean carburetor | As needed | 20 minutes |
Storing Your Leaf Blower the Right Way
How you store your blower matters as much as how you use it. Proper storage prevents fuel issues and corrosion. We found that most seasonal problems start during the off-season.
Drain the fuel tank if you will not use the blower for more than a month. Run the engine until it stops to empty the carburetor. This prevents varnish from forming in the tiny passages.
Clean the exterior with a damp cloth to remove dirt and grime. Store the blower in a dry location, ideally off the floor. Hang it on a wall hook or place it on a shelf to keep it away from moisture.
By following these steps, you will find that your blower starts easily every time you need it. No more frustrating pull-cord battles or mid-job stalls. Just reliable performance whenever the leaves start to fall.
Conclusion
You now have the complete troubleshooting roadmap for your leaf blower. Most problems come down to stale fuel, dirty filters, or a worn spark plug. We walked you through each fix, starting with the fastest checks and moving to deeper repairs.
Take it one step at a time. You will save money and avoid a trip to the repair shop with simple maintenance. Start with fresh fuel and a clean air filter. That combination solves most starting and performance issues.
Make a habit of checking your blower before each use. Store it properly at the end of the season. These small actions keep your equipment ready when you need it. Grab your tools and give your blower that first check today.
Frequently Asked Questions
Why does my leaf blower start then die immediately?
This usually points to a fuel delivery problem. A clogged carburetor or a dirty air filter starves the engine. Check the primer bulb and fuel lines for cracks first.
Old gas is another common cause. Drain the tank and replace it with a fresh mix. Clean the carburetor jets if the problem continues.
Can I use regular car oil in my leaf blower?
No, you should use 2-cycle engine oil made for air-cooled small engines. Car oil has different additives that do not burn correctly. It leaves carbon deposits that damage the engine over time.
Check your manual for the right oil type and mix ratio. Using the correct oil keeps your blower running smoothly and extends its life.
Why is my leaf blower smoking?
Light smoke on startup can be normal oil burning off. Heavy smoke usually means too much oil in the fuel mix. Drain the tank and mix fresh fuel at the correct ratio.
Smoke that continues while running might indicate a clogged muffler. Clean the exhaust port and replace the muffler gasket if needed.
How do I know if my spark plug is bad?
Remove the plug and look at the electrode tip. Black carbon buildup or wet oil residue means the plug is failing. A healthy plug has a light tan or gray color.
Check the gap with a feeler gauge against your manual’s spec. When in doubt, replace it. New spark plugs are cheap and take minutes to install.
Why does my electric leaf blower keep shutting off?
For corded models, check the extension cord first. An undersized cord causes voltage drop and overheating. Use a heavy-duty outdoor cord rated for your blower’s amperage.
For cordless models, the battery is often the issue. A hot battery triggers the thermal cutoff and shuts the motor down. Let it cool completely, then clean the contacts and try again.