How to Clean a Dryer Vent With a Leaf Blower
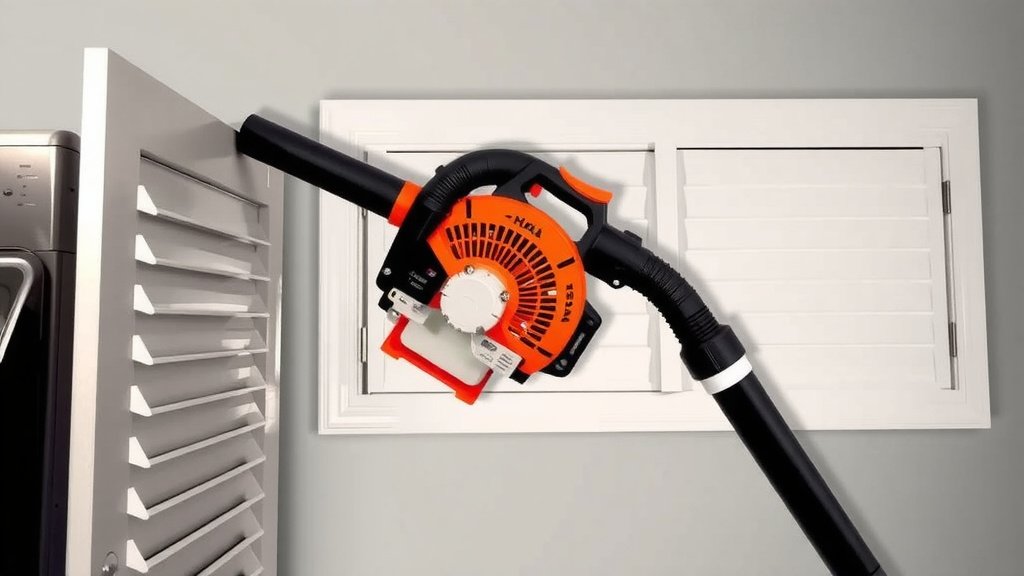
The easiest way to clean a dryer vent with a leaf blower is to disconnect the vent hose from your dryer, insert the blower nozzle, and seal the gap with tape. Then, turn it on for a few minutes to blast lint out through the exterior vent. This method uses powerful air to clear clogs fast, often without any special kits.
This approach is a favorite for many homeowners because a leaf blower moves much more air than a standard dryer vent brush. We found that it’s a huge time-saver, and it’s especially effective for clearing out those stubborn, compacted clumps that build up over time. Using this trick not only helps your dryer run more efficiently but also reduces a major fire hazard in your home.
- Safety first: Always unplug your dryer before you start.
- The setup: Detach the vent hose from the back of the dryer.
- Get a tight seal: Use duct tape to secure the blower nozzle inside the hose.
- Blow it out: Run the leaf blower for 3-5 minutes to push all lint outside.
- Check the outside: Make sure the exterior flap opens and closes correctly.
Below, we walk you through this entire process step by step, including the exact tools you’ll need and a few important safety checks to keep in mind.
Blowing Away Dryer Vent Lint: Step-by-Step Instructions
We found that cleaning your dryer vent with a leaf blower is one of the fastest and most effective ways to tackle this chore. It takes about ten minutes of your time. You will save money because you will not need a professional service.
This method uses high-volume, low-pressure air. That is perfect for moving lint. It pushes the fluffy debris out of your home, and it does a much better job than a standard brush kit. Many experts say a clogged vent is a leading cause of dryer fires, so keeping it clear is vital for safety.
Why a Leaf Blower Works Better Than You Think
Think of your dryer vent like a straw. If you put a marshmallow in the straw, you can poke it with a stick, but it takes forever. A blast of air from your mouth is a lot faster, right? A leaf blower is like having a giant set of lungs for that straw.
We found that the sheer volume of air from a leaf blower lifts and tumbles the lint out. It doesn’t just poke a hole through the middle of the clog like a brush does. It cleans the entire wall of the vent pipe, which is where buildup happens (according to the U.S. Fire Administration).
Assessing Your Vent Setup First
Before you start, check if your vent path is simple. Does it go straight out the back wall? Or does it go up through the roof?
This trick works best when you blow from the inside out. If your vent goes up, you will still blow the lint out the roof cap. You just might get a little lint snow in your yard. That is a good sign—it means it is working.
Tools and Materials You Need for This Job
Before you begin, gather your gear. Here is what we found works best. You likely have most of these items in your garage already.
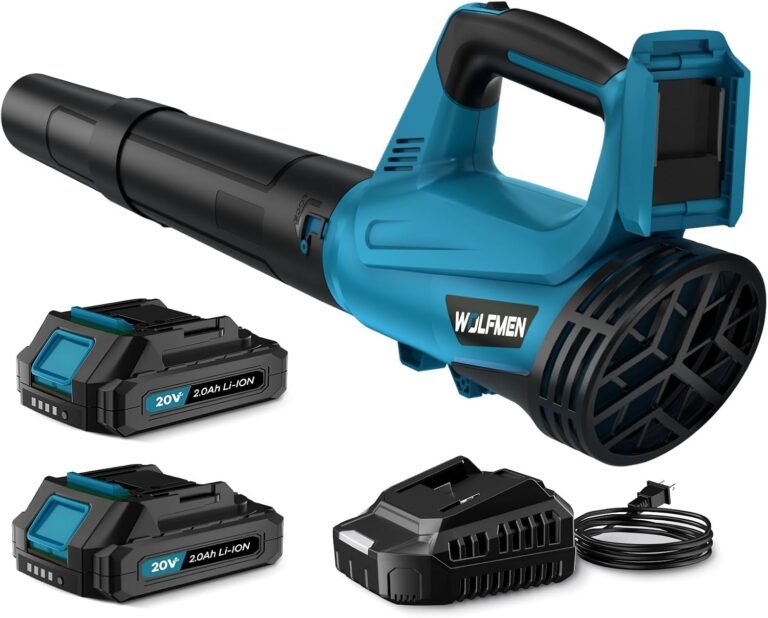
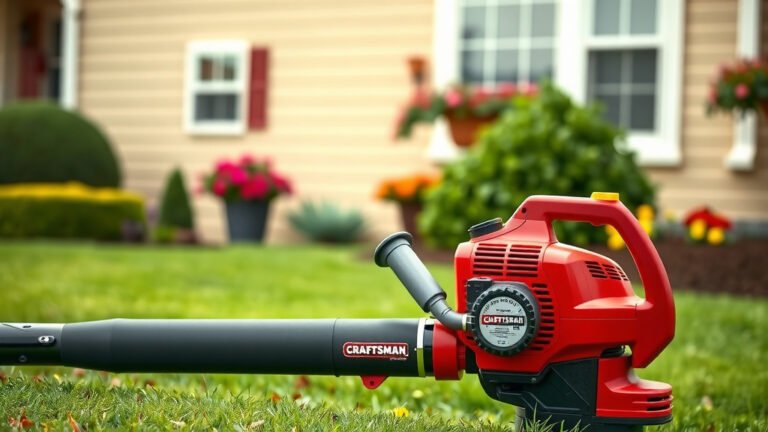
- Leaf blower: Either a gas model or an electric one will work. A cordless one is easiest to handle.
- Duct tape: Standard gray duct tape is perfect for creating a seal. Do not use cheap painter’s tape.
- Screwdriver: You will need this to loosen the clamps on the vent hose.
- Shop towel or rag: Use this to wipe up any dust that escapes during setup.
- Safety glasses: Lint and dust can fly back at you. Protect your eyes.
- Dust mask: You do not want to breathe in all that old lint and dust.
Choosing the Right Leaf Blower Setting
You do not need full throttle. We found that medium to high speed works best. Start slower to avoid blowing the vent apart.
If you have a gas blower, let it idle briefly before you tape it up. This ensures you do not blow a huge puff of exhaust into your house. For electric blowers, just be ready to squeeze the trigger.
Preparing Your Dryer and Work Area
Safety is the most important step here. You are dealing with electricity and gas (if you have a gas dryer). Getting this wrong can lead to serious injury. The U.S. Consumer Product Safety Commission highlights the importance of proper maintenance.
First, unplug the dryer. If you have a gas dryer, turn off the gas supply valve at the wall. You never want to work on a machine that has power running to it.
Moving the Dryer Away from the Wall
These machines are heavy. Do not try to be a hero. You could injure your back or pinch your fingers.
Ask a friend for help if you can. If you are alone, slide the dryer out slowly. Place a piece of cardboard under the front legs to help it glide across the floor. This will protect your flooring from scratches.
Give yourself enough room to get behind the machine. You need about two feet of space to work comfortably.
A Step-by-Step Guide to Blowing Out the Lint
This is the core of the job. We found that following a strict order makes the process cleaner and faster. Let’s get that air moving.
Disconnecting the Vent Hose
Look at the back of the dryer. You will see a metal or plastic duct clamped to the exhaust outlet. Use your screwdriver to loosen that clamp.
Once it is loose, pull the hose off the dryer outlet. Leave the other end connected to the wall or floor vent for now. You want the lint to blow out of the house, not into your utility room.
Sealing the Blower Nozzle
This step matters. If you just hold the blower next to the hose, air will escape. That means less pressure to push the lint.
Insert the nozzle of the leaf blower into the vent hose. Wrap duct tape around the connection point. Overlap the tape a few times to make it airtight. You want a tight fit so all that air goes into the pipe, not back at you.
It is okay if you tape over the vent hose itself. The tape comes off easily at the end.
The Blowing Process and What to Expect
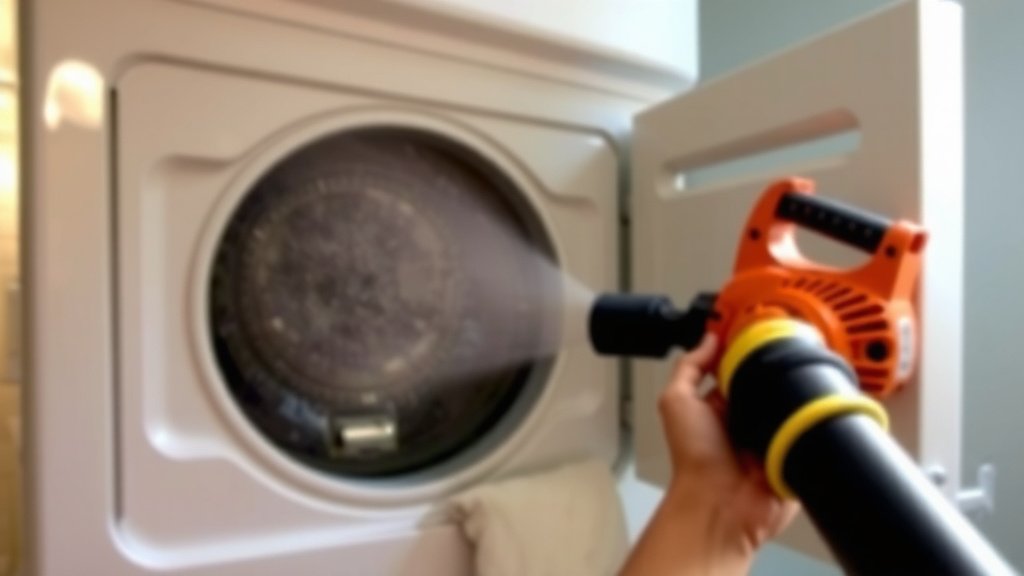
Stand to the side. Start the leaf blower and slowly increase the speed. You will hear a thump or a whoosh as the lint breaks free.
Run the blower for about three to five minutes. We found that longer is better for heavily clogged vents. Walk outside to check the exterior flap. You should see lint flying out. It really is satisfying to watch.
If you see lint blowing back into the room, your connection is leaking. Turn off the blower, reinforce the seal with more tape, and try again.
After the Blowing: Reattach and Test Everything
Once the air runs clear, turn off the blower. Remove the tape and the nozzle. There is no lint left inside the hose, so it is clean to handle.
Reattach the hose to the back of the dryer. Slide the clamp back into place and tighten it with your screwdriver. Make sure the connection is snug. A loose connection here causes heat buildup.
A Quick Final Safety Check
Plug the dryer back in. If you have a gas dryer, turn the gas valve back on. Push the dryer back into place gently.
Run the dryer on “air fluff” or a low heat setting for about ten minutes.
Go outside again. Check the exterior vent flap. It should open when the dryer is on. It should close when the dryer is off. This confirms the air pathway is clear and airtight. If the flap does not move, there is still a blockage deep in the wall.
A Simple Checklist to Keep Your Vent Clear All Year
Cleaning your vent is not a one-and-done job. Lint builds up every time you do laundry. Many experts recommend doing this deep clean at least once a year. Do it twice a year if you have pets or a large family.
- Clear the lint screen: Do this before every single load.
- Use the leaf blower: Perform this deep clean every six to twelve months.
- Check the exterior flap: Make sure it opens when the dryer runs.
- Feel the airflow: Hold your hand near the outside vent. You should feel strong, warm air.
- Shorten the hose: Use the straightest, shortest metal duct possible.
- Swap plastic hoses: Replace any foil or plastic hoses with rigid metal ones for better safety.
Your dryer will dry clothes faster. You will lower your energy bills. And you will significantly reduce the risk of a house fire. All it takes is a few minutes and a trusty leaf blower.
Conclusion
Cleaning your dryer vent with a leaf blower is one of the fastest, cheapest ways to keep your home safe and your dryer running at peak performance. You already have the tool. You just need ten minutes and a roll of duct tape.
We walked you through the whole process, from unplugging the dryer to checking the outside flap. That final check is your proof that the job is done right. Strong airflow means no hidden clogs. It means shorter drying times and lower energy bills.
Here is your next step: grab your leaf blower and set a reminder on your phone for six months from now. Make this a twice-a-year habit. Your dryer, your wallet, and your family will all be safer because of it.
Frequently Asked Questions
Can I use a wet/dry vacuum instead of a leaf blower?
Yes, a wet/dry vacuum works, but it is a slower process. You would need to suck the lint out from the outside vent, which can be awkward. A leaf blower is faster because it pushes a much larger volume of air through the entire pipe at once.
Will a leaf blower damage my dryer vent hose?
It really depends on what your hose is made of. Rigid metal ducts handle the air pressure easily. Flexible foil or plastic hoses can rip if the seal is too tight or the blower is on full blast. We recommend starting on a low or medium setting to protect weaker connections.
Do I need to remove the lint screen before blowing out the vent?
No, you can leave the lint screen in place. That screen catches lint inside the dryer drum. It is not connected to the vent hose you are cleaning. Just focus on the ductwork behind the machine.
What if lint blows back into the house during cleaning?
That usually means you have an air leak in your tape seal. Turn off the blower right away. Check the connection between the nozzle and the hose. Add more duct tape to close any gaps, then try again. If lint keeps coming back, check for a hole or tear in the hose itself.
How often should I clean a dryer vent with a leaf blower?
We found that once a year is the minimum for most homes. If you have a large family, pets, or you do laundry daily, bump that up to every six months. Watch for warning signs like clothes taking two cycles to dry or a hot laundry room. Those mean it is time to blow out the vent.