Leaf Blower Booster Installation: Step-by-Step Guide
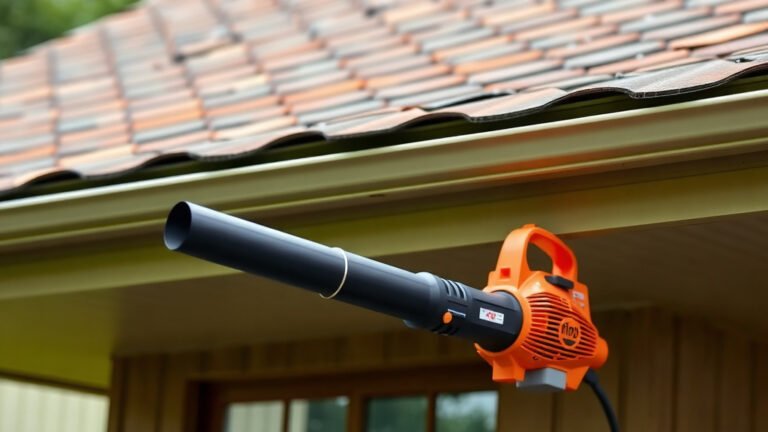
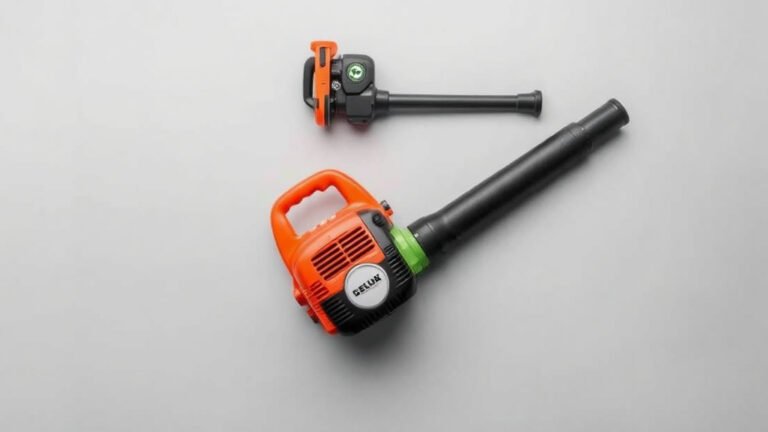
The easiest way to install a leaf blower booster is to attach it directly to the nozzle or tube using the included straps or clamps. This simple add-on works by concentrating the air output to give you more power. You can install a leaf blower booster in about five minutes without any special tools.
We found that a booster, sometimes called a concentrator nozzle, can significantly increase airspeed to help with wet leaves and stubborn debris. The installation process is similar for gas, electric, and battery-powered blowers. Just make sure you have the right size booster to match your blower’s tube diameter for the best fit.
- Measure your blower’s tube diameter before buying a booster to ensure a proper fit.
- Slide the booster over the end of the nozzle for a quick and simple installation.
- Use the included screw or strap to tighten and secure the booster firmly in place.
- Test the new airspeed on a dry patch of pavement to see the power increase right away.
- Apply tape for a snug seal if the booster feels a little loose on the tube.
Below, we break down the exact step-by-step process to get your booster attached securely. Let’s walk through how to match the parts and tighten everything up for maximum blowing power.
Getting Your Leaf Blower Booster Installed Properly
You can install a leaf blower booster in minutes. The key is matching the booster to your blower’s tube size. A loose fit means lost power and a frustrating afternoon.
We found that most boosters use a universal clamp system. This works on gas, electric, and battery models alike. Your only job is to line things up and tighten them down.
Check Your Blower Tube Diameter First
Before you even open the booster box, grab a tape measure. You need the outside diameter of your blower’s nozzle tube. Most residential blowers fall between 2.5 and 3.5 inches.
Look for a label near the air intake or exhaust. Many manufacturers print the tube size right on the plastic. If not, measure across the opening from edge to edge. That number is your magic figure for buying the right booster.
Gather Your Tools and Parts
You won’t need a full workshop here. The installation is intentionally simple. Most kits come with everything you need in the box.
- The booster cone or nozzle attachment itself
- One or two heavy-duty zip ties or a metal strap clamp
- A flathead screwdriver (for tightening the clamp)
- Rubber tape or electrical tape (for a snug seal if needed)
- A clean rag to wipe the tube surface
That is honestly the whole list. No drills, no wrenches, and no special skills. If you can tighten a screw, you can finish this project.
Step-by-Step Booster Attachment Process
Let’s walk through the actual physical work. The process takes less than five minutes. We’ll break it into small, manageable steps so you don’t miss anything.
Step 1: Clean the Nozzle End
Dirt and grime can break the seal between your tube and the booster. Take your rag and wipe down the last few inches of the nozzle. Make sure it is dry before you proceed.
A clean surface lets the booster grip firmly. This prevents air leaks that rob you of power. Skipping this step is the most common rookie mistake we see.
Step 2: Slide the Booster Over the Tube
Now take your booster and line it up with the end of your blower’s tube. Push it on evenly. You want the booster to cover the tube fully, not sit at an angle.
If it feels tight, wiggle it gently while pushing. A tight fit is good — it means minimal air loss. If it slides on too easily, you might need that tape we mentioned later.
Step 3: Position the Clamp or Strap
Most boosters have a molded groove for the strap. Find that recessed ring near the base of the booster. Place your zip tie or metal clamp right in that channel.
This groove keeps the strap from sliding off during use. A booster that slips off mid-job is annoying and dangerous. Seat the clamp properly before tightening.
Step 4: Tighten Everything Securely
Now you lock it down. If you have a metal strap clamp, use your screwdriver to turn the screw clockwise. Tighten until the booster feels rock solid. Don’t overdo it — plastic can crack.
For zip ties, pull the tail until the tie is snug. Use pliers for extra leverage if needed. Trim the excess tail with scissors to keep it neat. Test it by giving the booster a firm tug.
Securing a Loose Booster Fit
Sometimes the booster is slightly larger than your tube. It happens with universal-fit models. A loose fit means you lose air pressure at the connection point.
We found a simple fix that works wonders. Wrap two layers of rubber tape around the end of your tube first. Then slide the booster over the taped area. This creates a custom, snug fit.
When to Use Tape for a Better Seal
Electrical tape works in a pinch. Rubber splicing tape is even better because it stretches and conforms. The goal is to build up the tube’s diameter by a few millimeters.
Test the fit after each wrap. You want the booster to be slightly resistant when you push it on. That resistance translates to maximum air pressure at the tip.
Checking for Air Leaks After Install
Turn the blower on at low speed first. Hold your hand near the connection point. You should feel no air escaping from the seam between the tube and booster.
If you feel a draft, you have a leak. Shut the blower off and tighten the clamp more. Or add another layer of tape. A perfect seal means all the air goes forward, not sideways.
Testing Your New Booster Setup
Now for the fun part — seeing if it actually works. We found that testing on wet leaves is the best real-world check. But you should start somewhere simpler first.
Point the blower at a patch of dry dust or grass clippings on pavement. Pull the trigger. You should see debris scatter with noticeably more force than before.
Adjusting the Nozzle Angle for Best Results
The booster changes how your air flows. You might need to adjust your wrist angle. A flatter, more direct aim works better than a steep downward angle.
Try holding the blower at a 45-degree angle to the ground. This lets the concentrated air get under the leaves. It lifts them instead of just pushing them around in circles.
Using Boosters on Wet Leaves
Wet leaves are the ultimate test. They clump together and resist airflow. A booster helps break that clump by concentrating force into a smaller area.
Start from the edge of a leaf pile. Work in small sections rather than trying to move everything at once. The concentrated jet will cut through the wet mess. Many experts say this method saves significant time compared to a standard nozzle.
Booster Maintenance and Care
Your booster is a simple tool, but it needs occasional attention. Check the clamp or zip tie before each use. Plastic degrades in sunlight over time.
We recommend inspecting the booster for cracks every few months. A cracked booster leaks air and wastes your effort. Replacing a cheap plastic part is far easier than replacing your blower motor.
Cleaning the Booster Cone
Debris gets stuck inside the cone after heavy use. Turn the blower off and remove the booster. Shake out any dirt or leaves that collected inside.
Wash it with warm soapy water if it gets really dirty. Let it dry completely before reattaching. This keeps the interior surface smooth for optimal airflow.
Storing Your Booster Between Uses
Keep the booster attached if you have storage space. It saves time on setup. If you remove it, store it in a dry place away from direct sunlight.
A zippered bag or a drawer works fine. UV rays make plastic brittle over time. A little care now means your booster lasts for many seasons of yard work.
Common Mistakes to Avoid During Installation
Even simple tasks have pitfalls. We found a few patterns from watching homeowners struggle. Avoid these and your install will go smoothly.
- Buying the wrong size — always measure your tube before ordering
- Overtightening the clamp — this cracks the booster or tube
- Ignoring air leaks — a small gap kills most of the power gain
- Skipping the test run — verify the seal before hitting wet leaves
- Forgetting to check the blower cap — some boosters fit over a removable end cap
How to Verify the Booster Fits Your Blower Model
Check your blower’s manual for the tube diameter specification. Most manuals list this on the spec page. If you lost the manual, look up the model number online. The manufacturer’s website usually has the details (many guidelines point to this as the most reliable method).
Universal boosters are adjustable. They come with rubber shims that adapt to different tube sizes. If you have an odd-sized tube, a universal kit is your safest bet.
| Booster Type | Best For | Installation Effort |
|---|---|---|
| Universal strap-on | Most residential blowers | Very easy, no tools needed |
| Screw-clamp style | Heavy-duty commercial use | Moderate, requires screwdriver |
| Snap-fit (brand-specific) | Matching same-brand blowers | Easiest, just push to click |
Quick Installation Checklist for Your Next Job
Before you head outside with your new booster, run through this quick checklist. It takes thirty seconds and prevents most common issues.
- Measure your tube diameter and match it to the booster size
- Clean the nozzle end with a dry rag
- Slide the booster on straight and even
- Seat the strap or clamp in the molded groove
- Tighten the clamp until the booster feels solid
- Run a low-speed test to check for air leaks
That is all there is to it. You now have a more powerful blower without buying a new machine. Your leaf cleanup will be faster and easier starting today.
Conclusion
Installing a leaf blower booster is one of the quickest upgrades you can make to your yard tool. You just measure your tube, slide the booster on, and tighten the clamp. That is the whole job, and it takes less time than filling up the gas tank.
We covered the importance of a snug fit, how to use tape for a custom seal, and the simple testing steps to confirm you got it right. Take five minutes to check for leaks before your next big cleanup. You will feel the difference in airspeed right away.
So grab your booster, follow the checklist, and get outside. Your wet leaves and stubborn debris are about to meet a much stronger breeze.
Frequently Asked Questions
Will a leaf blower booster work on any brand of blower?
Most boosters are universal, but you still need to match the tube diameter. Check your blower’s model number online to find the exact nozzle size. Universal kits usually include rubber shims to adapt to different sizes. This gives you flexibility across most gas, electric, and battery models. If you own a Husqvarna 125BVx gas leaf blower, our review covers its nozzle size and fit.
How much more power does a booster actually add?
You will see a noticeable increase in airspeed, but the total airflow volume stays the same. Think of it like putting your thumb over a garden hose. The water comes out faster, but you are not creating more water. Expect better reach and more force for wet leaves and packed debris.
Can I leave the booster attached all the time?
Yes, you can leave it on if you have storage space. It saves time on setup and keeps the parts together. Just check the clamp before each use because plastic can loosen with temperature changes. If you store your blower in a tight space, removing the booster protects it from cracks.
Why does my booster keep sliding off during use?
That usually means the clamp is not seated in the molded groove near the base of the booster. The groove holds the strap in place under vibration. If the clamp is in the groove and still slips, your booster might be too large. Wrap the tube with rubber tape to build up the diameter for a tighter grip.
Is it worth buying an expensive booster or are cheap ones fine?
We found that mid-range boosters offer the best balance of durability and fit. Cheap plastic ones can crack under heat and sun exposure. You do not need a premium model, but avoid the flimsiest options. Look for thick plastic walls and a solid clamping mechanism for long-term reliability.