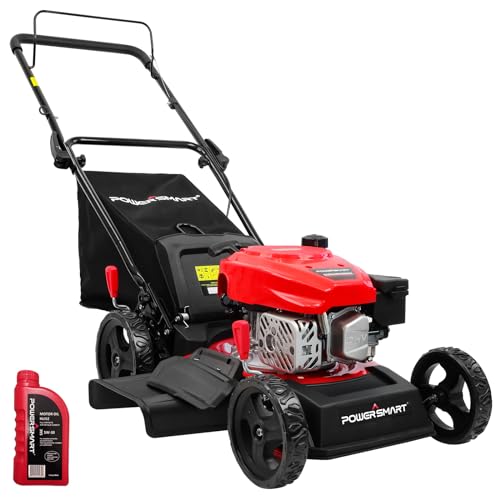
Complete Guide to Rebuilding a Lawn Mower Carburetor for Beginners
If you’re a lawn enthusiast, you know maintaining your tools is key to a pristine yard. Sometimes, your lawn mower starts sputtering or simply refuses to start. Often, the culprit is a faulty carburetor. Rebuilding it might sound daunting, but don’t worry—I’m here to guide you through it!
Introduction to Lawn Mower Carburetors
Ever wondered what makes your lawn mower run smoothly? In many cases, it’s thanks to the carburetor, a small but mighty component that mixes air and fuel for the engine. Understanding its importance is the first step in appreciating why rebuilding it can be a game-changer for your lawn mower’s performance.
Understanding the Signs of a Faulty Carburetor
Is your mower choking or not starting at all? These are classic signs of carburetor trouble. But how do you know for sure? Here are some telltale signals:
- Engine runs rough or stalls frequently
- Black smoke from the exhaust
- Poor fuel efficiency
- Starting difficulties
Gathering Your Tools and Supplies
You don’t want to stop mid-way to fetch a missing tool. So, what’s in the toolkit for this DIY adventure? Here’s a checklist:
- Screwdriver set
- Wrench set
- Carburetor cleaner
- Replacement gaskets and parts (carburetor rebuild kit)
- Safety goggles and gloves
Safety Precautions You Should Take
Safety first, folks! Working with mechanical parts can be hazardous. Here are some golden rules to keep you safe:
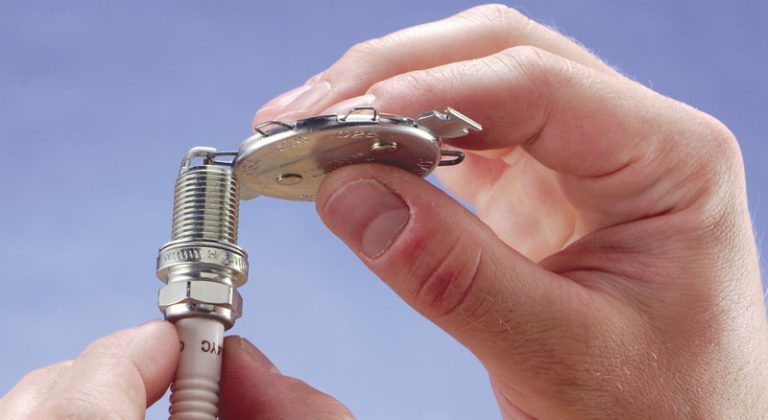
- Disconnect the spark plug to prevent accidental starting
- Work in a well-ventilated area
- Use protective gear like gloves and goggles
Step-by-Step Guide to Removing the Carburetor
Ready to get your hands dirty? Let’s start by taking out the carburetor. Follow these steps methodically:
1. Turn Off and Cool Down
Ensure the mower is off and give it time to cool down.
2. Disconnect the Fuel Line
Carefully remove the fuel line and let any excess fuel drain into a container.
3. Remove the Mounting Bolts
Use the appropriate wrench to loosen and remove the bolts holding the carburetor in place.
Disassembling the Carburetor: A Closer Look
With the carburetor on your workbench, it’s time to take it apart. Think of it as a puzzle; each part has its place.
- Take off the float bowl
- Remove the float and needle valve
- Unscrew the jets
Cleaning the Carburetor: The Heart of the Process
Cleaning is crucial—imagine a heart transplant where you forget to clean the arteries! Here’s how you do it:
1. Use a Carburetor Cleaner Spray
Thoroughly spray all jets, passages, and other components.
2. Soak in Cleaning Solution
For stubborn residue, consider soaking parts in a carburetor cleaning solution.
Inspecting for Wear and Tear
While cleaning, inspect for any damaged or worn parts. Etched or damaged components need replacing, akin to replacing worn-out tires on a car—it keeps everything running smoothly.
Reassembling the Carburetor
It’s time to put the puzzle back together. Reinsert all components, ensuring everything is tight and in its rightful place.
Reinstalling the Carburetor on Your Lawn Mower
Attach the carburetor back to your mower, reversing the steps of removal. Ensure all bolts are tightened and fuel lines are securely connected.
Testing Your Rebuilt Carburetor
Moment of truth! Reconnect the spark plug, start your mower, and listen to the purr of a job well done. If it starts smoothly, you’ve done it!
Common Mistakes to Avoid
- Not replacing worn gaskets
- Using incorrect tools
- Skipping the cleaning process
Troubleshooting Unexpected Issues
Didn’t go as planned? Don’t fret. Here are some fixes:
- Double-check connections if the engine won’t start
- Adjust fuel mixture if it runs unevenly
Maintenance Tips for Long-lasting Performance
To prevent future rebuilds, proper maintenance is key. Regular checks and cleanings are like doctor visits for your mower to ensure longevity and efficiency.
Conclusion
Rebuilding a lawn mower carburetor can seem complex at first glance, but with the right guidance and understanding, it becomes an approachable and rewarding task. Now that you’ve got this under your belt, your lawn mower is ready to provide a clean and smooth cut every time.
FAQs
How often should I clean my carburetor?
Ideally, you should clean your carburetor at the beginning of each mowing season. This keeps your equipment running smoothly and efficiently.
Can I use WD-40 instead of carburetor cleaner?
While WD-40 can displace moisture, it’s not designed to clean carburetors. It’s best to use a dedicated carburetor cleaner.
What should I do if the mower still stalls after rebuilding the carburetor?
Double-check for air leaks or clogs in the carburetor and fuel lines. Make sure all parts are properly fitted.
Do I need to adjust the carburetor after rebuilding?
Yes, after rebuilding, adjusting the air-fuel mixture screws ensures optimal performance.
Why is my mower’s engine surging?
This might be due to incorrect air-fuel mixture, or you may have overlooked a clogged jet. Re-inspect your work.