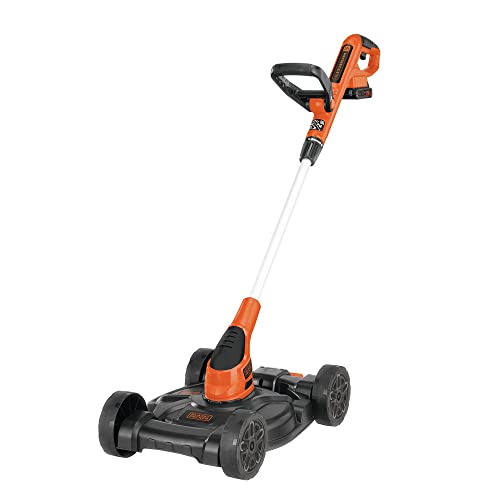
How to Operate a Husqvarna Riding Lawn Mower Properly
Ah, the joy of mowing the lawn on a beautiful spring or summer day – there’s nothing quite like it! But if you’re new to riding lawn mowers, the prospect of operating one can be a bit daunting. Fear not, my friends, for I’m here to guide you through the process of using a Husqvarna riding lawn mower like a pro. Get ready to bid farewell to those pesky weeds and uneven patches, and hello to a lush, well-manicured lawn that’ll be the envy of the neighborhood.
Understanding Your Husqvarna Riding Lawn Mower
Before you can start mowing, it’s essential to familiarize yourself with the various components and features of your Husqvarna riding lawn mower. Take some time to read through the owner’s manual and get acquainted with the different controls and safety mechanisms. This will not only help you operate the mower more efficiently but also ensure your safety throughout the process.
Key Components of a Husqvarna Riding Lawn Mower
- Steering Wheel: This is how you steer and navigate the mower around your lawn.
- Brake Pedal: Use this to slow down or stop the mower when needed.
- Throttle Lever: Adjust the engine speed to control the mower’s forward and reverse movement.
- Cutting Deck: This is the part that actually cuts the grass as you mow.
- Parking Brake: Engage this to keep the mower stationary when you’re not actively using it.
Preparing to Mow
Alright, now that you know your way around the mower, let’s get ready to tackle that lawn! First and foremost, make sure the area is clear of any debris, sticks, or other obstacles that could interfere with the mowing process. Double-check the tire pressure and fuel level to ensure a smooth and uninterrupted mowing session.
Adjusting the Cutting Deck Height
One of the key features of a Husqvarna riding lawn mower is the ability to adjust the cutting deck height. This allows you to customize the length of the grass you want to achieve, depending on your personal preferences and the specific needs of your lawn. Consult your owner’s manual for instructions on how to adjust the cutting deck height on your particular model.
Starting the Mower and Engaging the Blades
With the preparation complete, it’s time to fire up your Husqvarna riding lawn mower and get to work. Start by ensuring the parking brake is engaged and the cutting deck is in the raised position. Insert the key and turn it to the “on” position, then press the start button to bring the engine to life.
Engaging the Cutting Blades
Once the engine is running, you can engage the cutting blades by activating the blade engagement lever or switch, depending on your mower’s design. This will start the blades spinning and allow you to begin mowing.
Maneuvering the Mower
Now comes the fun part – steering your Husqvarna riding lawn mower around your lawn! Gently press the throttle lever to control the mower’s forward and reverse movement, and use the steering wheel to navigate around obstacles and follow your desired mowing pattern.
Turning and Backing Up
When it’s time to turn or reverse the mower, take things slow and steady. Use the steering wheel to make smooth, controlled turns, and practice backing up in a safe, open area before attempting it on your lawn. Remember to keep an eye on your surroundings and be mindful of any potential hazards.
Maintaining a Consistent Mowing Pattern
To ensure an even, well-groomed lawn, it’s important to maintain a consistent mowing pattern. Try to overlap each pass by a few inches to avoid leaving any uncut patches. Additionally, consider mowing in a different direction each time to prevent the grass from becoming overly compacted or matted down.
Stopping and Parking the Mower
When you’ve finished mowing, it’s time to bring your Husqvarna riding lawn mower to a halt. Slowly release the throttle lever and apply the brake pedal to stop the mower. Once it’s come to a complete stop, engage the parking brake to keep it in place. Remember to always turn off the cutting blades before coming to a stop.
Conclusion
Operating a Husqvarna riding lawn mower may seem like a daunting task at first, but with a little practice and the guidance provided in this article, you’ll be mowing like a pro in no time. Remember to always prioritize safety, follow the manufacturer’s instructions, and take your time as you become more comfortable with the mower. Enjoy the satisfying feeling of a freshly mowed lawn and the admiration of your neighbors!
Frequently Asked Questions
How do I adjust the cutting height on my Husqvarna riding lawn mower?
To adjust the cutting height, locate the cutting height adjustment lever or knob on your mower. Consult your owner’s manual for specific instructions on how to raise or lower the cutting deck to your desired height.
What is the proper mowing pattern to follow?
The best mowing pattern is to start on the outer edges of your lawn and work your way inward, overlapping each pass by a few inches. This ensures an even, consistent cut. You can also alternate the direction of your mowing each time to prevent the grass from becoming matted down.
How do I safely back up my Husqvarna riding lawn mower?
When backing up, take it slow and keep a close eye on your surroundings. Gently press the throttle lever in reverse and use the steering wheel to guide the mower. Avoid sudden or jerky movements, and be mindful of any obstacles or people in your path.
How often should I sharpen the blades on my Husqvarna riding lawn mower?
It’s generally recommended to sharpen the blades on your Husqvarna riding lawn mower at least once per season, or every 25-30 hours of use. Dull blades can tear the grass, leading to an uneven cut and potentially damaging your lawn.
What safety precautions should I take when operating a Husqvarna riding lawn mower?
Always wear appropriate safety gear, such as closed-toe shoes, eye protection, and hearing protection. Ensure the area is clear of debris before mowing, and never operate the mower with children or pets nearby. Familiarize yourself with the safety features and always follow the manufacturer’s instructions.