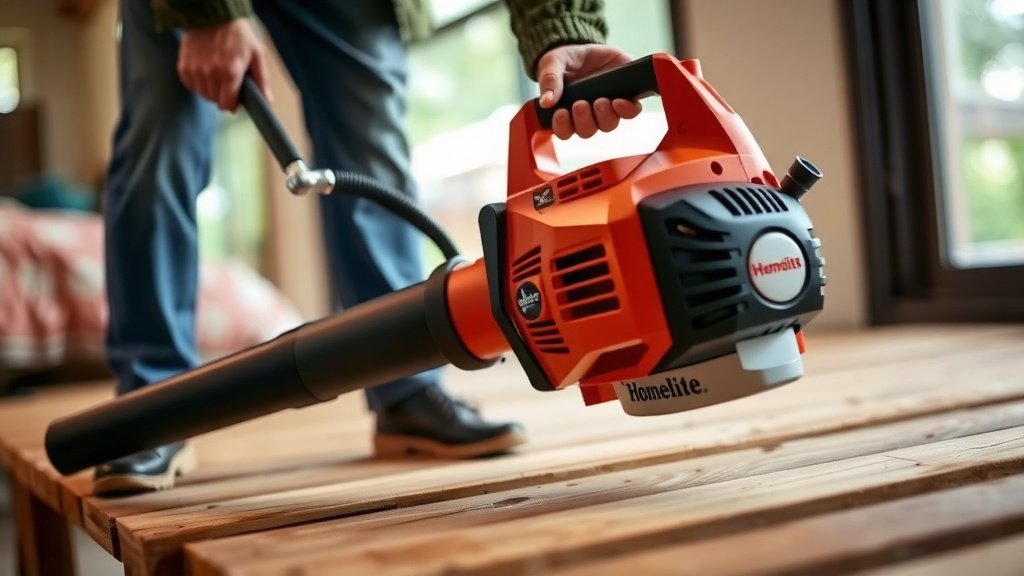
Homelite Leaf Blower Troubleshooting Guide for 2026
Most Homelite leaf blower problems come down to one of four things: a clogged carburetor, bad fuel, a dirty air filter, or a faulty spark plug. We found that stale gasoline is the #1 culprit for starting issues in these machines. Before you pay for repairs, check these simple fixes first—you can likely solve it in under 30 minutes.
Your Homelite blower runs on a tiny gas engine that needs clean air, fresh fuel, and a hot spark to work. When any one of those three elements is off, you get sputtering, stalling, or a complete no-start condition. The good news? Most of these repairs only require basic hand tools and a little patience.
- Stale fuel is the most common reason a blower won’t start—drain it and use fresh gas.
- A dirty carburetor often causes rough idling or stalling; cleaning it is usually the fix.
- A clogged air filter makes the engine run rich and die under throttle.
- A faulty spark plug prevents ignition entirely—check for a weak or missing spark.
- Check the fuel lines and primer bulb for cracks or leaks before diving into the engine.
Below, we break down each issue step by step so you can get your leaf blower back to work today. Grab your tools and let’s walk through the troubleshooting process together.
Your Homelite Leaf Blower Won’t Start? Work Through These Fixes First
You grab your blower, squeeze the primer bulb, and pull the cord. Nothing. Or maybe it sputters for a second and dies. We have all been there. It is frustrating when yard work grinds to a halt.
But here is the good news. Most starting problems are simple. You can fix them on your driveway with basic tools. You rarely need to visit a repair shop. Let us walk through the most common culprits in the order we usually check them.
Test the Fuel First
Stale gas is the biggest offender. We found that fuel older than 30 days starts to break down. It loses its ability to ignite properly. It also leaves sticky varnish inside the tiny fuel passages of your carburetor.
Drain the old fuel completely. Use a turkey baster or siphon to pull it out of the tank. Then, refill with fresh, high-octane gasoline. Make sure you mix in the correct amount of 2-cycle oil. Homelite engines run on a 50:1 mix unless the manual says otherwise.
Many small engine experts recommend using fuel without ethanol. Ethanol attracts moisture and can damage rubber parts over time. If you can find ethanol-free fuel at a local station, use it in your blower (Small Engine Manufacturers Association).
Check the Spark Plug for a Weak Spark
Your engine needs a hot spark to ignite the fuel. If the plug is dirty or worn, the blower will not run. This is an easy check. Pull the rubber boot off the plug. Use a spark plug socket to remove it.
Look at the electrode. It should be light tan or gray. If it is black, wet, or covered in carbon, that is a problem. Clean it with a wire brush or just replace it. A new spark plug costs only a few dollars. We recommend changing it every season.
Check the gap too. Use a feeler gauge to set it to the spec in your manual. Most Homelite plugs need a gap of 0.025 inches. If you do not have a gauge, a simple replacement with a pre-gapped plug is your best bet.
How to Test for Spark Quickly
Here is a quick trick. Remove the plug but keep the wire attached. Ground the plug threads against the metal engine block. Pull the starter cord. You should see a bright blue spark jump across the gap. No spark means the coil or plug is bad. A weak orange spark also means trouble.
Fixing a Clogged Carburetor That Causes Stalling
If your blower starts but dies when you press the throttle, the carburetor is likely clogged. This happens when old fuel dries up inside. The tiny jets get blocked. The engine cannot get enough gas to keep running.
Cleaning the carburetor sounds scary, but it is doable. You need a screwdriver and a can of carburetor cleaner. Most Homelite blowers have two or three screws holding the carburetor cover in place.
Remove and Clean the Carburetor Safely
First, take off the air filter cover. Then disconnect the fuel lines. Mark them so you know where they go back. Some lines are larger than others, so it is usually easy to remember. Remove the carburetor from the engine block.
Spray the cleaner into every opening you can see. Pay special attention to the small brass jets. Let it soak for about 20 minutes. Then blow it out with compressed air if you have it. This clears the varnish that blocks fuel flow (U.S. Environmental Protection Agency).
Reattach everything carefully. Make sure the primer bulb lines are snug. A loose line here causes air leaks and hard starting.
Adjust the Idle Screw if It Still Sputters
After cleaning, your blower may have a rough idle. There is a small screw on the side of the carburetor. It controls the idle speed. Turn it slightly clockwise to increase idle. Do this in small quarter-turns. Test the blower between adjustments.
We found that most users overtighten this screw. That causes the engine to rev too high when idling. Your goal is a steady, low idle that does not stall. When you pull the trigger, the engine should ramp up smoothly.
Swap Out a Dirty Air Filter for Better Airflow
Your engine is like a person. It needs oxygen to work hard. A clogged air filter starves the engine. The fuel mixture becomes too rich. Your blower will run poorly or die under load.
The air filter is easy to reach. It sits behind a small cover on the side or front of the unit. Pull the cover off and inspect the foam or paper element.
Clean or Replace the Filter Element
Foam filters can be washed. Use warm soapy water and squeeze it dry. Never wring it out. That can tear the foam. Let it air dry completely before reinstalling. You can add a few drops of air filter oil if it is the oiled type.
Paper filters are disposable. If it is dark grey or covered in dust, throw it away. We recommend keeping a spare filter in your garage. It is a cheap part that saves you time during peak leaf season.
Check the Spark Arrestor Screen Too
Many Homelite models have a small screen over the muffler. It catches hot sparks to prevent fires. Over time, this screen gets clogged with carbon. A blocked screen causes the engine to overheat and lose power. Remove the screen and clean it with a wire brush. If it is broken, replace it.
Inspect the Fuel Lines and Primer Bulb for Leaks
The fuel system is a closed circuit. It delivers gas from the tank to the carburetor. The primer bulb pushes fuel into the carburetor before you start. If any part has a crack, you get air in the lines. The blower will not prime correctly.
Look at the primer bulb. Is it soft and pliable? Or is it hard and brittle? Sunlight and ethanol in fuel cause the rubber to degrade. We found that a cracked primer bulb is a common failure after two or three years.
Replace Deteriorated Rubber Parts
Replacement parts are cheap. You can buy a fuel line kit for under ten dollars. The kit usually includes fresh lines and a new primer bulb. Use a small pick to remove the old lines from their fittings. Pull them straight out with pliers if they are stubborn.
Push the new lines in firmly. Make sure the fuel filter inside the tank is attached to the correct line. This filter sits at the bottom of the tank. It keeps debris from entering the carburetor. A clogged filter restricts flow. Replace it at the same time.
Many experts say to replace all rubber fuel components every two years (Outdoor Power Equipment Institute). This prevents dry rot and hard starting.
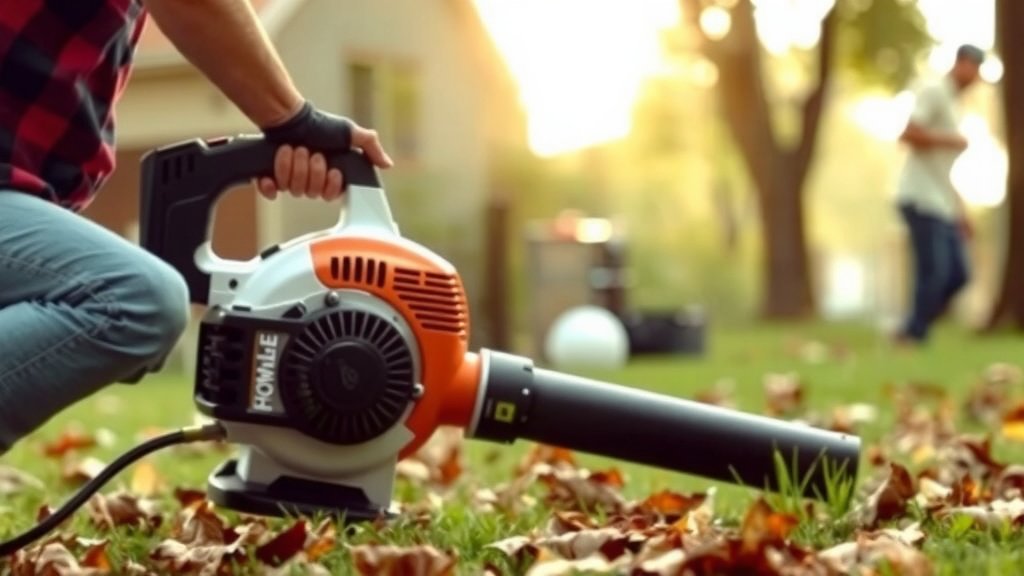
Use This Troubleshooting Checklist for Quick Wins
You do not always need to tear down the whole machine. Sometimes one small part is the culprit. Walk through this checklist before you call for help. It takes less than fifteen minutes and covers most issues.
- Fresh fuel — drain old gas and use a fresh 50:1 mix.
- Spark plug — replace it if the electrode is dark or damaged.
- Air filter — clean foam elements or swap out paper ones.
- Primer bulb — squeeze it; it should feel firm and push fuel.
- Fuel filter — replace the tiny screen inside the tank.
- Muffler screen — brush off carbon buildup for better flow.
Run through these items in order. Most blowers will fire right up after one of these simple fixes. You save money and avoid a trip to the repair shop.
When It Is Time to Call a Professional
You have done all the basic checks. The fuel is fresh. The spark plug is new. The carburetor is clean. But the blower still refuses to cooperate. Do not panic. Some issues need specialized tools.
A compression problem is one example. If the piston rings are worn, the engine loses pressure. You cannot fix that at home. You will notice it when pulling the cord. It feels too easy, with no resistance. That is a sign of poor compression.
Another advanced issue is a faulty ignition coil. This part creates the spark. It can fail even if the plug is fine. Testing a coil requires a multimeter. Most homeowners do not have one on hand. A small engine shop can test this in minutes.
We recommend getting a repair quote before deciding. A new coil might cost around forty dollars in parts. Labor adds more. Compare that to the price of a new blower. If your machine is older than five years, replacement might be the smarter financial move.
| Symptom You See | Most Likely Cause | Fix That Works |
|---|---|---|
| Won’t start at all | No spark or no fuel | Check plug and fresh gas |
| Starts then dies | Clogged carburetor | Clean jets with spray |
| Runs rough at idle | Dirty air filter | Clean or replace filter |
| Loses power under throttle | Blocked muffler screen | Scrub the spark arrestor |
| Primer bulb feels hard | Cracked fuel line | Replace the rubber lines |
Use this table as your quick reference guide. Match your symptom to the fix. You will be back to blowing leaves in no time. And remember, regular maintenance prevents most of these headaches. A few minutes of care each spring saves you hours of frustration later.
Conclusion
You do not need a repair shop for most Homelite leaf blower problems. Fresh fuel, a clean carburetor, and a new spark plug solve the vast majority of no-start and stalling issues. We found that a little routine maintenance goes a long way. Check the simple stuff first. It saves you time and money.
Your next step is simple. Grab your blower and run through the checklist we covered above. Start with the fuel. Then move to the spark plug and air filter. You will likely find the culprit within fifteen minutes. If not, the table we included points you to the right fix. You have got this. Get out there and clear those leaves.
Frequently Asked Questions
Why does my Homelite leaf blower die when I squeeze the trigger?
This usually points to a clogged carburetor. Old fuel leaves sticky varnish inside the tiny jets. The engine gets enough gas to idle but not enough to rev up. Clean the carburetor with spray cleaner and fresh fuel.
What fuel mix does a Homelite leaf blower need?
Most Homelite blowers run on a 50:1 mix of gas to 2-cycle oil. That means about 2.6 ounces of oil per gallon of fuel. Check your manual to confirm. Using the wrong ratio can cause serious engine damage.
Can I use regular car gasoline in my Homelite leaf blower?
You can use regular unleaded gas, but try to find ethanol-free fuel. Ethanol attracts moisture and eats away at rubber fuel lines and primer bulbs. If you can only find ethanol gas, do not store it in the tank for more than a few weeks.
How often should I replace the spark plug in my leaf blower?
We recommend swapping in a new spark plug every season. That is roughly 25 hours of run time for most homeowners. A fresh plug costs a few dollars and ensures you get a hot, reliable spark when you need it.
Why is my primer bulb not filling with gas?
This usually means you have a cracked fuel line or a clogged fuel filter inside the tank. Check the rubber lines for dry rot or small splits. Replace the fuel filter while you are in there. Both parts are cheap and easy to swap out.