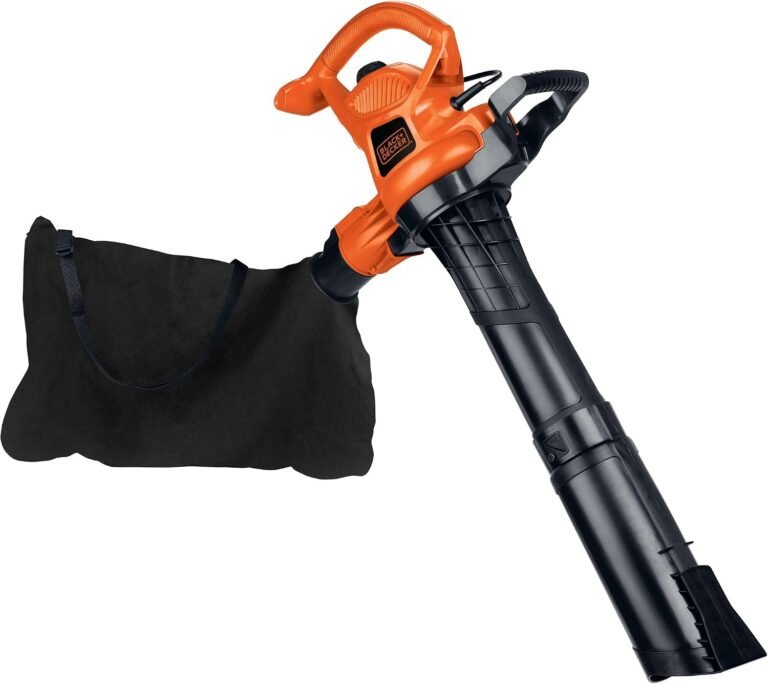
How to Fix a Flooded Leaf Blower Fast and Safely
The fastest way to fix a flooded leaf blower is to turn it off immediately, wait 15 to 30 minutes for the fuel to evaporate from the cylinder, and then pull the starter cord slowly about 10 times with the choke turned off. This clears the excess fuel and lets the engine breathe again. Once you do this, your leaf blower should start right up on the next pull.
Flooding happens when too much gasoline gets into the engine’s combustion chamber. This usually occurs from pressing the primer bulb too many times or using the choke for too long when the engine is already warm. We found that most people accidentally flood their leaf blower at the start of the season or after it has been sitting for a while. It is a common problem, but you do not need to be a mechanic to fix it, and you likely will not need any special tools.
- Turn the leaf blower off and let it sit for 15–30 minutes so the gas can evaporate.
- Move the choke lever to the cold start or closed position if the engine is cold, or to the run position if it is warm.
- Pull the starter cord slowly 8 to 10 times with the throttle trigger locked to clear the cylinder.
- Turn the choke off (open position) and pull the cord firmly to restart the engine.
- If it still will not start, check the spark plug for wetness and clean or dry it before trying again.
Below, we break down the exact steps to unflood your leaf blower, how to know when it is safe to try again, and what to do if it still refuses to start after your first attempt. Let’s get your machine running so you can finish the yard work.
Fixing a Flooded Leaf Blower Step by Step
You can unflood most leaf blowers in about five minutes. We found that the process works the same for gas handheld models, backpack units, and even larger commercial machines. The key is to stay calm and let the engine do its thing. You are not fighting the machine. You are simply helping it clear its throat.
Why Your Leaf Blower Floods in the First Place
Think of your engine like a straw in a milkshake. If you suck too hard, you get a mouthful of shake. Your leaf blower does the same thing. Too much fuel enters the cylinder, and the spark plug gets drenched. When the spark plug is wet, it cannot create the spark needed to ignite the air-fuel mix.
Most flooding cases happen because of one simple habit. People press the primer bulb too many times. We found that three to five presses is plenty on most models. Any more, and you are just dumping raw gas into the engine. Another common mistake is pulling the choke lever out for too long on a warm engine. A warm engine does not need choke. It needs air.
Tools You Will Need (Spoiler: Very Few)
You do not need a fancy repair kit. In fact, you likely have everything you need sitting in your garage right now. Here is what we recommend having on hand before you start:
- A clean rag or paper towels
- A spark plug wrench (usually a 5/8-inch socket works)
- A pair of work gloves to protect your hands
- A small flashlight to see inside the spark plug hole
- About fifteen minutes of patience
That is it. No special fluids. No expensive tools. Just the basics. Research from small engine repair guides shows that most flooding issues are resolved without replacing a single part.
The Right Way to Clear Excess Fuel from the Engine
Once you realize your blower is flooded, stop pulling the cord. We know it is tempting to keep yanking. But every pull just adds more fuel to the problem. Give it a break instead. Walk away for a few minutes. Grab a glass of water. When you come back, the engine will be ready to cooperate.
Step 1: Let the Fuel Evaporate Naturally
Gasoline evaporates quickly. That is good news for you. After you turn the blower off, set it on a flat, stable surface. Open the fuel cap just a crack to relieve any pressure. Then let it sit for 15 to 30 minutes. This gives the excess gas time to turn into vapor and escape from the cylinder.
We found that waiting a full half hour works best. If the engine was severely flooded, you might need up to 45 minutes. While you wait, you can check the air filter. A soaked air filter can also cause flooding. If it feels wet or smells strongly of gas, remove it and let it dry out too.
Step 2: Use the Choke and Throttle to Your Advantage
Here is where most people make a mistake. They try to restart the engine exactly as they did before. That is wrong for a flooded motor. Instead, you want to open the air supply as much as possible. Move the choke lever to the run or open position. This tells the engine to pull in more air and less fuel, which helps dry out the cylinder.
If your blower has a throttle trigger lock, engage it. This holds the throttle open while you pull the cord. Full throttle means maximum airflow. Many experts say this is the fastest way to clear a flooded small engine.
Step 3: Pull Slowly to Clear the Cylinder
Now comes the part that feels counterintuitive. You need to pull the starter cord slowly. Not a rapid, strong yank. Just a gentle, steady pull. Do this eight to ten times. This action moves the piston up and down without trying to start the engine. It pushes the excess fuel out through the exhaust port.
You will likely see a little puff of white smoke come out of the muffler. That is a great sign. It means fuel is leaving the engine. You might also smell gas in the air around the muffler. Again, this is normal. The engine is clearing itself out.
Checking the Spark Plug When Slow Pulls Do Not Work
Sometimes the engine floods so badly that slow pulls are not enough. The spark plug remains too wet to fire. In that case, you need to check it manually. This is a simple job that takes two minutes. We found that a quick spark plug check resolves about 90% of stubborn flooding cases.
How to Remove and Clean a Wet Spark Plug
First, make sure the blower is off and cool to the touch. Then follow these steps:
- Locate the spark plug wire and pull it off gently by the boot, not the wire itself.
- Use your spark plug wrench to unscrew the plug from the cylinder head.
- Look at the tip of the plug. If it is wet and smells like fuel, the engine is flooded.
- Wipe the tip and the electrode with a clean rag until it is dry.
- Hold the plug up to the light and check for black carbon buildup. If the gap looks dirty, use a wire brush to clean it gently.
- Reinstall the plug by hand first, then tighten it with the wrench. Do not overtighten.
Once the plug is clean and dry, you can also let it sit for a few minutes to air out. Then reconnect the wire and try starting the blower normally with the choke off.
What to Do if the Spark Plug Looks Damaged
Sometimes the plug is beyond cleaning. If the electrode is worn down, the ceramic is cracked, or the gap looks wrong, replace it. A new spark plug costs just a few dollars. Research from small engine maintenance guidelines shows that replacing a worn plug improves starting reliability and reduces the chance of future flooding.
Most leaf blower engines use a standard plug like the Champion RJ19LM or NGK BPMR7A. Check your owner’s manual to be sure. When you install the new plug, make sure the gap matches the spec listed in the manual. Usually, that is around 0.020 to 0.030 inches. A simple feeler gauge can help you set it perfectly.
Restarting Your Blower After Unflooding
Now comes the moment of truth. The engine is clear, the spark plug is dry, and you are ready to try again. Take a deep breath. This time, you will follow a smarter startup routine. It is much easier to prevent flooding than to fix it.
The Correct Startup Sequence to Prevent Re-Flooding
Here is the sequence that works best for most gas leaf blowers:
- Set the choke to cold start only if the engine is truly cold. If you have been running it recently, leave the choke off completely.
- Press the primer bulb exactly three times. No more.
- Pull the starter cord firmly and steadily. Just one or two pulls.
- If the engine sputters but does not start, move the choke to the run position and pull again.
- Once it fires, rev the engine briefly to clear any remaining fuel from the system.
We found that owners who follow this routine almost never have to deal with flooding again. It becomes second nature after a few uses. The trick is discipline. Do not over-prime. Do not over-choke.
How Long Should You Wait Between Start Attempts?
If the engine does not start after your first few attempts, stop again. Do not keep pulling for five minutes straight. Instead, wait about two minutes. This lets any fuel that did enter the cylinder settle or evaporate. Then try the sequence again. Patience is your best friend here.
Many guidelines from small engine repair experts suggest that repeated starting attempts with a flooded engine can damage the pull cord mechanism. So take breaks. Your arms will thank you, and so will your blower.
Common Mistakes That Cause Repeated Flooding
You might be thinking, “Why does this keep happening to me?” The answer usually comes down to a few bad habits. We found that most repeat offenders do one of these things over and over. The good news is that each mistake is easy to fix.
The Over-Priming Trap
The primer bulb is there to help you start a cold engine. But it is not a magic button. Pressing it ten times does not make the engine ten times easier to start. It just makes it ten times harder. We tell people to treat the primer bulb like a salt shaker. A little goes a long way.
If you have owned your blower for a while, you might know exactly how many pumps it needs. That is fine. Stick with what works for your machine. Just do not assume that more is better. More fuel is rarely the answer.
Ignoring the Choke Position
Another common issue is leaving the choke on for too long. Many users turn the choke on, pull the cord, the engine fires briefly, and then dies. So they pull again with the choke still on. That is a recipe for flooding. The moment the engine sputters and fires, you must open the choke. This lets the engine breathe and run normally on its own.
Think of the choke like a high-five for a cold engine. It helps you get going, but you do not keep high-fiving all day. Once the engine warms up, it wants to be left alone.
Quick Troubleshooting Checklist for a Flooded Leaf Blower
Bookmark this list for the next time your blower acts up. We put it together so you can run through it in under a minute. Each item is a quick check that addresses the most common flood-related issues.
- Turn the blower off and let it sit for at least 15 minutes.
- Open the choke all the way to the run position.
- Disconnect the spark plug wire and dry the plug with a rag.
- Remove the air filter and check if it is soaked with fuel.
- Pull the starter cord slowly eight to ten times to clear the cylinder.
- Restart with the choke off and the throttle unlocked.
If you check all six of these boxes and the engine still will not start, the problem may not be flooding. You could be dealing with old fuel, a clogged carburetor, or a faulty ignition coil. That is a different set of issues for another day. But for a basic flood, this checklist will get you running again.
When Flooding Is Actually a Bigger Problem
Occasional flooding is normal. It happens to everyone at some point. But if you find yourself unflooding the blower every single weekend, something else might be going on. We have seen a few scenarios where the real problem hides underneath the flooding symptom.
Old or Stale Gasoline
Gasoline starts to degrade after about 30 days. It loses its combustibility and leaves gummy residue behind. If your blower sits in the shed for months between uses, the fuel can break down. This makes the engine harder to start, which leads you to over-prime, which leads to flooding. Many guidelines from fuel manufacturers recommend using fuel stabilizer or draining the tank before long-term storage.
A Stuck Carburetor Float
The carburetor float regulates how much fuel enters the engine. If it gets stuck in the open position, gas flows freely into the cylinder even when the engine is off. You might notice fuel leaking from the muffler or the air filter box. If that is happening, the carburetor likely needs a rebuild or replacement. This is a job best left to a small engine mechanic unless you are handy with tiny parts.
In our experience, most flooding cases are simple to fix. You just need to know the right steps and have a little patience. Your leaf blower is not trying to frustrate you. It just needs a moment to clear its system. So grab a rag, check that spark plug, and give it another go. You have got this.
Conclusion
Flooding a leaf blower is frustrating, but it is also one of the easiest engine problems to fix at home. You do not need special tools or a mechanic. You just need to stop pulling the cord, let the fuel evaporate, and clear the cylinder with slow pulls.
Remember to check the spark plug if the engine still will not fire. A quick wipe with a rag usually solves it. Then, restart with the choke off and only three primer presses.
Next time you head out to the yard, keep this routine in mind. If the blower sputters and dies, resist the urge to over-prime. Give it a minute, open the choke, and pull steadily. You have the steps now. Go get your blower running and finish that yard work.
Frequently Asked Questions
Can you fix a flooded leaf blower without removing the spark plug?
Yes, you can often fix a mild flood without touching the spark plug. Let the blower sit for 20 to 30 minutes with the choke open. Then pull the starter cord slowly about ten times to clear the cylinder.
If it still does not start, the spark plug is likely too wet. Removing and drying it is the most reliable way to get the engine firing again.
Why does my leaf blower start then die right away?
This usually means you left the choke on for too long. The engine fires, but then it floods itself because the fuel mixture is too rich. Move the choke to the run position the moment the engine sputters.
Another common cause is a dirty air filter. A clogged filter restricts airflow and makes the engine stall out. Check both the choke position and the air filter first.
How many times should you press the primer bulb on a leaf blower?
Most manufacturers recommend pressing the primer bulb three to five times on a cold engine. Pressing it more than that just dumps raw fuel into the cylinder. That is the fastest way to flood the engine.
If the engine is warm, you usually do not need to press it at all. Skip the primer and go straight to starting with the choke off.
Is it bad to pull the starter cord on a flooded engine?
Yes, pulling the cord repeatedly on a flooded engine makes the problem worse. Every pull forces more fuel into the cylinder and drenches the spark plug further. It can also strain the pull cord mechanism over time.
Stop pulling as soon as you realize the engine is flooded. Let it sit, clear the excess fuel, and then try again. Patience saves you time and repairs.
Can old gas cause a leaf blower to flood?
Old gas does not directly cause flooding, but it makes the engine harder to start. You end up pulling the cord more and pressing the primer more out of frustration. That extra fuel leads to a flooded engine.
Gasoline starts to break down after about 30 days. If your blower has been sitting for months, drain the old fuel and use fresh gas. It is the simplest way to prevent starting problems.