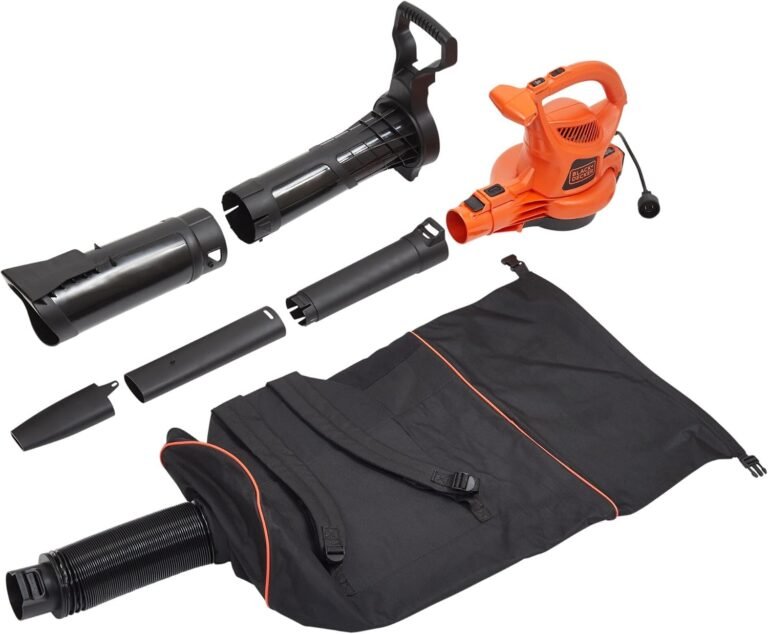
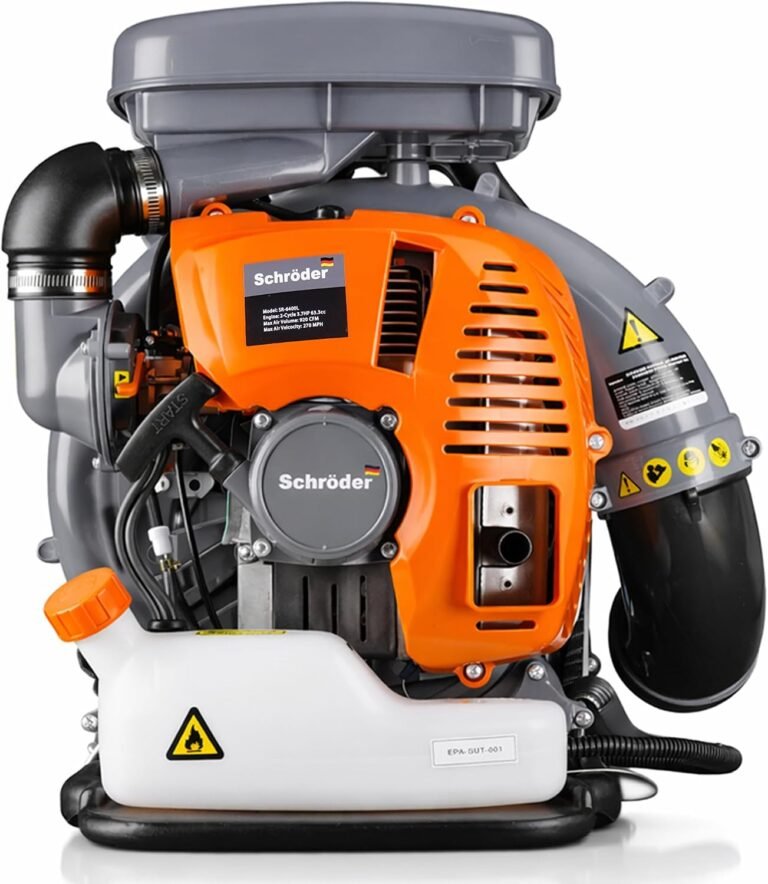
Leaf Blower Carburetor Cleaning: Step-by-Step Guide
The easiest way to clean a leaf blower carburetor is to remove it, disassemble it, and spray every part with carburetor cleaner. You don’t need to be a mechanic to do this. With a few basic hand tools and about an hour, you can get your blower running like new again. This is the first step to fixing a rough idle, stalling, or hard-starting engine.
We found that most carburetor problems come from old, stale fuel leaving behind sticky varnish. This gunk clogs the tiny jets and passages inside the carb. When those clog, your engine starves for fuel. That’s why your blower sputters or won’t start at all, even with a fresh tank of gas. Cleaning the carburetor removes that buildup and restores proper fuel flow.
- Safety first: Disconnect the spark plug wire before you touch anything.
- Remove the air filter cover and the filter itself to reach the carburetor.
- Disconnect the fuel lines and unbolt the carburetor from the engine.
- Take the carb apart and spray every jet and passage with cleaner.
- Reassemble and test—if it still won’t run, you may need a rebuild kit.
Below, we’ll walk you through the exact steps to clean your leaf blower carburetor, from prepping your workspace to putting everything back together. Let’s get your blower roaring again.
Cleaning Your Leaf Blower Carburetor Step by Step
You don’t need a repair shop to fix a sputtering leaf blower. We found that most DIYers can handle this job in about an hour. The secret is taking your time and being thorough with every tiny part.
Before you start, grab a clean workspace. A folding table or garage bench works great. Lay down a clean rag or paper towels so small screws don’t bounce away. You will also need a small bowl or magnetic tray to hold parts.
Tools and Supplies You Will Need
Gathering your tools first saves you from running back and forth. Here is what you need for this job:
- Carburetor cleaner spray (the aerosol kind works best)
- Flathead and Phillips screwdrivers
- Socket set or wrenches (usually 8mm and 10mm)
- Needle-nose pliers
- Clean rags or shop towels
- Compressed air (optional but very helpful)
- Small wire or a carburetor jet cleaning tool
- Safety glasses and work gloves
Most of these items are probably already in your garage. If you are missing the carb cleaner, any auto parts store carries it for a few bucks. That spray is your best friend for this whole process.
Prepping Your Leaf Blower for Carburetor Access
Safety comes first. You are working with fuel and tiny parts. Many experts say to always disconnect the spark plug wire before doing any engine work. This prevents the engine from accidentally firing while you work.
Find the spark plug boot on the side of the engine. Pull it off firmly and set it aside. Next, drain the fuel tank or run the blower until it dies. This makes the job cleaner and safer. Fuel spills are messy and a fire risk.
Removing the Air Filter Assembly
The carburetor sits right behind the air filter. Locate the air filter cover on the side of the blower. It usually has one or two clips or screws holding it in place. Remove those and lift the cover off.
Pull out the foam or paper air filter. Set it aside on a clean surface. You will see the carburetor now, usually with a black plastic or metal housing around it. Take a photo with your phone before removing anything else. This photo will help you remember how everything goes back together.
Detaching the Fuel Lines and Throttle Linkage
Look for two small rubber hoses connected to the carburetor. One brings fuel in, and the other returns extra fuel to the tank. Use your needle-nose pliers to slide off any small metal clips holding these hoses.
Pull the hoses off gently. A little fuel might drip out, so keep your rag handy. You will also see a thin metal rod or wire connected to the throttle. This is the linkage that controls engine speed. Disconnect it carefully and note its position.
Taking the Carburetor Apart Safely
Now that the carb is free, you can remove it from the engine. Check for two bolts or nuts holding it to the intake manifold. Use your socket wrench to loosen them evenly. Once loose, pull the carburetor straight off the engine.
Place the carburetor on your clean workspace. We found that laying out parts in the order you remove them helps a lot. You will see the throttle plate, the bowl, and a float inside. Take it slow and do not force anything.
Removing the Float Bowl and Gasket
The float bowl is the small metal cup at the bottom of the carburetor. Look for a single screw or bolt holding it in place. Remove that screw and gently tap the bowl loose with a screwdriver handle if it sticks.
Inside, you will find a float and a tiny needle valve. These parts control fuel flow into the bowl. Lift the float out carefully. Set the bowl, gasket, and float aside in a safe spot. Do not lose the tiny hinge pin that holds the float.
Locating the Jets and Tiny Passages
Inside the carburetor body, you will see small brass or aluminum jets. These are the parts that clog up with old fuel. There is usually a main jet and an idle jet. They look like small screws with a tiny hole in the center.
Use your screwdriver to remove these jets gently. Be careful not to strip them. If they are stuck, spray a little carb cleaner on them and wait a few minutes. Once out, set them aside with the other parts. The tiny holes in these jets are where varnish builds up.
Spraying and Scrubbing Every Carburetor Part
This is the core of the job. We found that thorough spraying makes the biggest difference. Put on your safety glasses because the cleaner can splash. Hold the spray nozzle about two inches from each part and blast away.
Spray the inside of the carburetor body. Hit every opening and passage you can see. The cleaner dissolves varnish and old fuel residue on contact. Then, spray the jets, the float, the needle, and the bowl. Do not forget the gasket surfaces.
Using Compressed Air for Stubborn Clogs
Sometimes, varnish is really baked on. If spraying alone does not clear a jet, grab your compressed air. Aim the air nozzle into the jet holes and blow through them. You should see air coming out the other side. That means the passage is clear.
If air will not pass through, use a tiny wire. Many carb cleaning kits include a thin wire tool for this. Gently push the wire through the jet hole. Then, spray cleaner through it again. This combination works on nearly every clog we have seen.
Inspecting Parts for Wear and Damage
While parts are clean, take a close look at each one. Check the gasket for cracks or tears. A damaged gasket will cause air leaks and rough running. Check the float for holes or fuel inside. If it feels heavy, it might be leaking fuel inside.
Examine the needle valve tip. It should be smooth and pointed. If it looks worn or has a groove, you need a replacement. Many experts say to replace the gaskets and needle valve every time you clean the carb. It is cheap insurance against future problems.
Putting the Carburetor Back Together
Now comes the fun part, reassembly. Start by reinstalling the jets you removed. Tighten them gently, just snug. Over-tightening can strip the soft metal threads. Then, place the float back in position and install its hinge pin.
Make sure the needle valve sits properly against the float. Then, set the float bowl gasket in place. It should sit flat and even. Place the bowl over the gasket and tighten its screw. Do not crank it down hard, just snug and even.
Reinstalling the Carburetor on the Engine
Line up the carburetor with the engine intake. Push it on straight and even. Reinstall the two mounting bolts and tighten them in a crisscross pattern. This ensures the carb sits flat against the manifold.
Reconnect the fuel lines. Push each hose back on until it seats fully. Replace the small metal clips if you removed them. Then, reconnect the throttle linkage. Refer to the photo you took earlier if you are unsure about the linkage position.
Replacing the Air Filter and Testing Your Work
Reinstall the air filter. If it is paper and looks dirty or oily, now is a great time to replace it. A clean filter makes a big difference in engine performance. Put the air filter cover back on and secure its clips or screws.
Reconnect the spark plug wire. Make sure it snaps firmly onto the plug. Fill the fuel tank with fresh, mixed fuel if you drained it. Now, prime the blower a few times and pull the starter cord. It should fire up within a few pulls.
When Cleaning Is Not Enough
Sometimes, cleaning does not fix the problem. If your blower still stalls or refuses to start, the carburetor may need more help. We found that internal gaskets or the diaphragm can fail even after a good cleaning. In that case, a rebuild kit is your next step.
Rebuild kits are inexpensive and include new gaskets, diaphragms, and needle valves. They come with instructions, and the process is similar to what you just did. If that still does not work, the carburetor may need replacement. New aftermarket carbs are often under thirty dollars.
Preventing Future Carburetor Clogs
The best repair is the one you never have to do. We found that most carburetor issues come from stale fuel sitting in the tank. Many guidelines point to fuel stabilizer as a simple preventive step. Add it to your fuel can every time you mix a batch.
Also, run the blower dry before storing it for more than a month. This simple habit prevents varnish from forming. Drain the tank, then run the engine until it dies. This clears fuel from the carburetor and prevents future clogs.
Quick Checklist for Your Carburetor Cleaning Job
Here is a quick recap you can follow along with as you work:
- Disconnect the spark plug wire before touching anything
- Drain the fuel tank to avoid messy spills
- Remove the air filter cover and filter to reach the carburetor
- Unbolt the carb and disassemble it carefully
- Spray every part with carb cleaner and blow out all jets
- Reassemble, reinstall, and test with fresh fuel
Keep this checklist handy when you work. It will help you stay organized and avoid missing a step. With this process, you will save money and keep your blower running strong for years.

Conclusion
You just learned the complete process for cleaning a leaf blower carburetor. From disconnecting the spark plug to spraying out every tiny jet, you now have the skills to fix a sputtering engine yourself. The main takeaway is simple: stale fuel causes most carb problems, and a thorough cleaning solves them.
Your next step is to grab your tools and tackle this job today. Start by removing the air filter cover and taking a look at your carburetor. You will likely find varnish buildup that is easy to clean. With fresh fuel and a clean carb, your blower will start on the first pull. You saved yourself a trip to the repair shop and about eighty bucks in labor costs. That is a win.
Frequently Asked Questions
Can I clean a leaf blower carburetor without removing it?
Yes, you can try a spray-on carb cleaner while it is still mounted. Remove the air filter and spray directly into the carb throat while the engine runs. This only cleans the surface, not the internal jets. For a real fix, you need to remove and disassemble it to clear the gunk inside.
How often should I clean my leaf blower carburetor?
Most homeowners only need to do this once every couple of years. The real trigger is when you notice rough idling, stalling, or hard starting. If you use fuel stabilizer and run the blower dry before storage, you may never need to clean it at all.
What is the best cleaner for a leaf blower carburetor?
An aerosol carburetor cleaner spray works best for this job. Brands like Berryman’s or Gumout are reliable and easy to find at auto parts stores. Avoid using brake cleaner or engine degreaser, as they can damage rubber seals and plastic parts inside the carb.
Why does my leaf blower run with the choke on but dies when I turn it off?
This usually means the carburetor jets are partially clogged. The choke enriches the fuel mixture, which compensates for the restricted flow. Once you turn the choke off, the engine leans out and stalls. Cleaning the jets should restore normal fuel flow and fix this issue.
Is it worth rebuilding a carburetor or should I just buy a new one?
A rebuild kit is worth trying first because it costs under fifteen dollars. It includes new gaskets, a diaphragm, and a needle valve. If the carb body itself is warped or cracked, then a new aftermarket carburetor is your best bet. They run about thirty bucks and bolt right on.