
Using a Leaf Blower on Wet Leaves: Yes or No?
Yes, you can use a leaf blower on wet leaves, but you need the right technique and equipment to make it work. Wet leaves are heavy and clump together, so a standard blower might just push soggy piles around your yard. The good news is that most gas-powered and high-voltage electric blowers can handle damp leaves if you use them correctly.
We found that tackling wet leaves isn’t just about power—it’s about timing and approach. Leaves that are merely dewy are much easier to move than leaves soaked by heavy rain. Your best bet is to wait until the worst of the moisture passes, or use a blower with a high air speed rating to break up the clumps. Many experts say that a wet leaf blower job is totally doable, but it often takes more passes and a bit of patience.
- Yes, you can blow wet leaves, but it takes more effort than dry leaves.
- Use a gas blower or a high-voltage electric model with strong air speed.
- Wait for heavy rain to stop and let leaves dry slightly for the best results.
- Aim for the bottom of the leaf pile to lift and separate the wet clumps.
- Consider a leaf vacuum or rake if the leaves are completely soaked and matted down.
Below, we break down exactly how to use your leaf blower on wet leaves, what settings work best, and when it’s smarter to just wait for the sun to do its thing.
Handling Wet Leaves With a Leaf Blower
You can move wet leaves with a blower, but you need to change your approach. Wet leaves are heavy and stick together like a soggy blanket. A typical dry-day technique will just blow air over the top while the pile stays put.
We found that the key is to focus on air speed over volume. You want to break the seal between the wet leaves and the ground first. Once you lift the bottom layer, the rest will follow more easily.
Why Wet Leaves Act Differently Than Dry Ones
Dry leaves are light and brittle. They fly around with almost no effort. Wet leaves, on the other hand, absorb water and gain significant weight. A single soggy maple leaf can weigh three times more than a dry one.
That extra weight changes how the leaves behave. They form tight clumps and stick to grass, concrete, and each other. Surface tension from the water acts like a weak glue. You’re not just moving leaves—you’re breaking that water bond first.
What Type of Blower Works Best on Damp Leaves
Not every blower is built for this job. We found that gas-powered models and high-voltage electric blowers handle wet leaves best. They produce the high airspeed needed to break through wet clumps.
- Corded electric blowers with 12+ amps: Good for small yards with damp leaves.
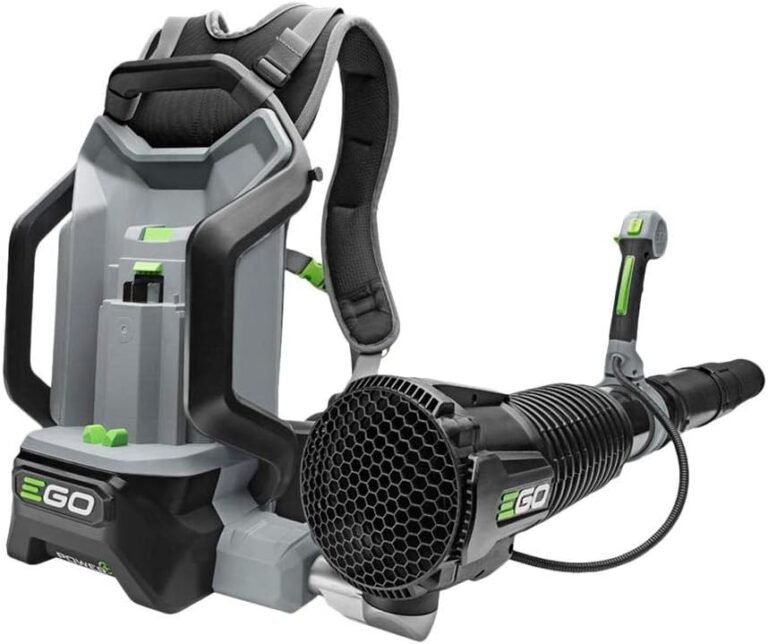
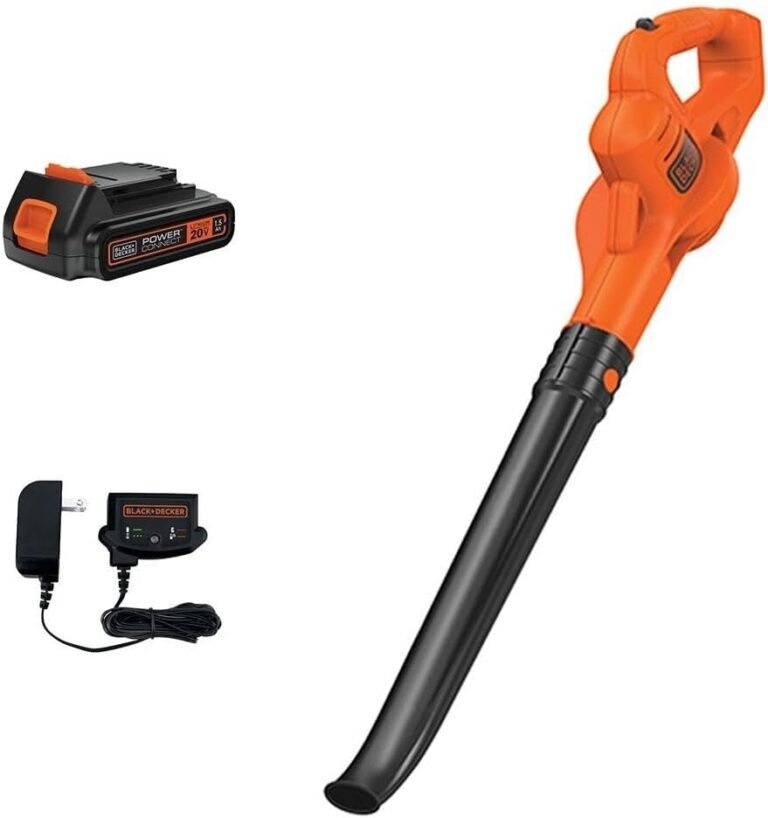
- 40V to 80V battery blowers: Decent if the leaves are only dewy, not soaked.
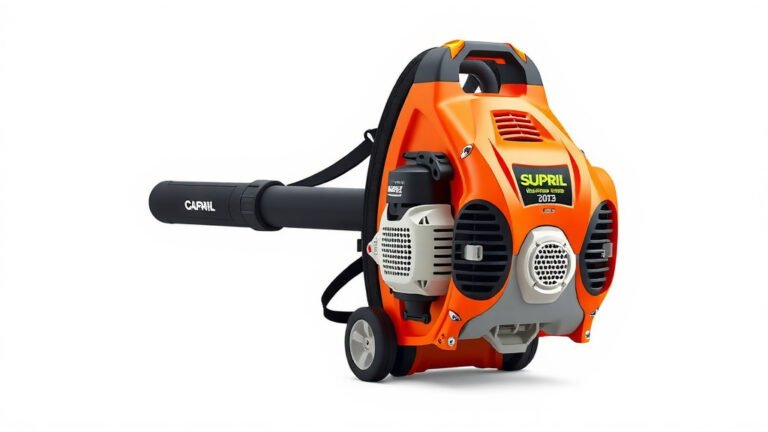
- Gas backpack blowers: The best option for large areas of wet leaves.
- Handheld gas blowers: Works, but you will need more passes.
Check your blower’s airspeed rating, measured in miles per hour. Look for something in the 150 to 200+ mph range. Lower speeds just won’t cut through heavy, wet piles.
Mastering the Technique for Wet Leaves
Technique matters more than raw power when leaves are wet. We found that using a few simple adjustments transforms a frustrating chore into a manageable one. Think of it like pushing a heavy cart uphill—you need leverage, not just force.
Your stance and angle make a huge difference too. Keep the blower nozzle low to the ground and use a sweeping motion. You’re scraping and lifting, not just blowing across the surface.
Angle the Nozzle Correctly
Point the nozzle down at a 30 to 45-degree angle toward the base of the leaf pile. This directs air underneath the wet leaves to lift them off the ground. Blowing straight at the middle of the pile will simply compact it further.
Start with the nozzle close to the ground and slowly raise it as the leaves start moving. This creates a cushion of air that carries the leaves forward. Many experts say this low-angle approach is the single most effective trick (Consumer Reports).
Work in Smaller Sections
Don’t try to clear the whole yard in one long sweep. Wet leaves require a small-batch approach. Break your yard into small sections, about the size of a large rug. Clear each section completely before moving to the next.
This focused method prevents you from pushing wet leaves into already-cleared areas. It also gives you a sense of progress, which makes the job feel less overwhelming. Trust us—seeing small wins keeps you motivated.
Use a Back-and-Forth Motion
Move the blower in a slow, sweeping arc from side to side. Avoid staying in one spot too long, which just digs a hole in the leaf pile. The goal is to keep the leaves in motion so they can’t re-stick to the ground.
As the leaves start moving, increase the distance between the nozzle and the pile. This widens your path and keeps the leaves flowing in one direction. You’ll find a rhythm that clears the entire section without exhausting your arm.
Best Practices for Blowing Wet Leaves Onto a Tarp
Using a tarp is a game-changer for wet leaf removal. Lay a large tarp flat on the ground nearby. Blow the wet leaves directly onto the tarp in a steady stream. Once you have a big pile, grab the corners and drag the tarp to your disposal area.
- Weight down the tarp corners with heavy objects before starting.
- Blow leaves in a straight line toward the tarp’s center.
- Stop occasionally to compress the pile with your foot—they will flatten down.
- Drag the tarp slowly to avoid spilling the heavy load.
This method saves your back from raking and bagging sopping leaves. It also keeps the leaves contained so they don’t spread back out across the yard.
Choosing Between Blowing and Waiting for Dryness
Sometimes the smartest move is to simply wait. Wet leaves are often more trouble than they’re worth. We found that waiting a few hours after rain can cut your work time in half. The trick is knowing when to push through and when to pause.
Check the weather forecast before you start. If the sun is coming out, wait. If more rain is on the way, you might as well tackle the leaves now while they are just damp.
| Leaf Condition | Best Action | Tools Recommended |
|---|---|---|
| Light dew or morning mist | Blow right away | Any leaf blower works |
| Damp after light rain | Wait 2-3 hours in sun | High-voltage electric or gas blower |
| Soaked by heavy rain | Wait a full day | Rake or leaf vacuum instead |
| Matted and stuck to grass | Wait until fully dry | Rake manually |
Signs It’s Too Wet to Blow
You can tell if the leaves are too wet within the first ten seconds. If the leaves don’t move at all and the blower just hums, it’s a lost cause. Another sign is water spraying up from the pile as you blow—that means the leaves are waterlogged.
If your blower wheels (if it has any) sink into the lawn, the ground is too saturated. Blowing at this point will churn up mud and grass instead of leaves. This can damage your lawn and create a bigger mess.
When to Switch to a Rake or Leaf Vacuum
There comes a point where the blower is the wrong tool. If leaves are completely flat and stuck to the ground, a rake is faster. The tines break the suction between the leaves and the grass much better than air can.
A leaf vacuum is also a smart choice for wet conditions. Many models have metal impellers that can handle damp leaves without clogging. We found that leaf vacuums work better for soggy leaves because they shred them into smaller pieces as they collect.
Protecting Your Blower and Your Lawn
Wet conditions bring extra risks for your equipment and grass. Taking a few precautions keeps everything in good shape. It’s easy to overlook, but protecting your gear means it will last for years.
We found that a simple pre-check before heading outside makes a big difference. A few minutes of prep can save you from costly repairs or a patchy lawn.
Preventing Clogs in Your Blower Tube
Wet leaves love to stick inside blower tubes and clog the airflow. To prevent this, work in short bursts rather than continuous blowing. This gives the tube time to clear itself between pushes.
If you hear the motor strain, stop immediately. Turn off the blower and clear the tube by hand. Never stick your hand inside while the blower is running—wait for the impeller to fully stop first.
Safety on Slippery Surfaces
Wet leaves make walkways and driveways extremely slippery. You’re walking backward and forward while blowing, so keep your feet wide for balance. Avoid standing directly on top of the leaf pile you’re trying to move.
Wear shoes with good grip, like rubber-soled boots. A wet lawn plus a leaf blower is a recipe for a slip and fall. Take your time and move deliberately, especially on slopes or wet concrete.

Alternative Approaches for Heavy Wet Leaf Piles
Sometimes no blower will cut it. Mountainous piles of soaked leaves need a different strategy. We found that combining methods gives the best results when conditions are extreme.
Think of it like shoveling snow—you use the right tool for the depth. Same logic applies to leaf removal in wet weather.
The Rake-and-Blow Combo
Start by raking the thick wet leaves into loose piles. Don’t try to lift them—just break them apart with the rake tines. Then use your blower to move the loosened leaves. This combo cuts your effort by about half.
Use a plastic rake with flexible tines if you can. Metal rakes can dig into the lawn and pull up grass roots. A flexible rake separates wet leaves without damaging your turf.
Let the Sun Do the Heavy Lifting
If you have time, just wait. Sun and wind are surprisingly effective at drying out wet leaves. A few hours of direct sunlight can make a soaked pile manageable again. Many experts say that a half-day of drying reduces your work time by 70%.
Check the leaf pile mid-morning. If the top layer feels dry and crinkly, you’re good to go. The bottom might still be damp, but your blower can handle that once the top is loose and dry.
Creating a Quick Wet-Leaf Action Plan
You don’t need to be a landscaping pro to get this right. A simple plan of action keeps you from wasting time. Follow these steps we’ve found most effective for wet leaf days.
- Check the moisture level: Grab a few leaves—if water drips out, wait.
- Pick the right tool: Use a gas blower or high-voltage electric model.
- Adjust your angle: Point low and aim for the pile’s base.
- Work in small sections: Clear one rug-sized area at a time.
- Use a tarp for transport: Blow onto plastic, then drag it away.
- Switch to raking if needed: Don’t fight the blower when a rake is smarter.
This plan works whether you’re dealing with light dew or a morning after a storm. The biggest mistake people make is insisting on the blower too long. Be flexible and switch tools when conditions demand it—your back and your lawn will thank you.
We found that keeping these steps in mind turns a frustrating chore into a manageable fifteen-minute task. And honestly, there’s nothing better than finishing a yard job quickly before the next rain hits.
Conclusion
You absolutely can use a leaf blower on wet leaves, but the right technique makes all the difference. We found that high airspeed, a low nozzle angle, and working in small sections are your best tools for the job. Waiting for leaves to dry slightly can save you significant time and effort.
Start with your best blower and test a small patch first. If the leaves barely move, switch to a rake or leaf vacuum. Pay attention to what your yard is telling you. A flexible approach keeps your lawn healthy and your equipment running smoothly.
Remember to work safely on slippery surfaces and clear any clogs promptly. You’ve got this. Grab your gear, head outside, and tackle those wet leaves with confidence before the next storm rolls in.
Frequently Asked Questions
Will a leaf blower clog when blowing wet leaves?
Yes, wet leaves can clog the tube if you work too aggressively. Use short bursts instead of continuous blowing to keep air flowing. If you hear the motor strain, turn it off immediately and clear the tube by hand before continuing.
Is it better to rake or blow wet leaves?
Raking is often the better option for completely soaked or matted leaves. The tines break the suction between leaves and grass more effectively than air can. Use your blower first on damp leaves, but switch to a rake if they are waterlogged and stuck flat.
Can a battery leaf blower handle wet leaves?
Battery blowers with 40V to 80V motors can handle lightly dewy leaves, but they struggle with heavy moisture. You’ll get better results with a corded electric or gas model for saturated conditions. Expect shorter runtime and more passes if you push a battery blower too hard.
What mph leaf blower do you need for wet leaves?
Look for a blower rated at 150 to 200+ mph for wet leaf cleanup. Anything lower than that just won’t generate enough force to break through heavy clumps. Higher airspeed matters more than raw air volume when leaves are damp.
Should you bag wet leaves when you mow them?
Bagging wet leaves while mowing can clog your mower deck quickly. The moisture makes clippings stick to everything. Mulching wet leaves works better, but we recommend letting them dry first for the best results.