Clean a Bug Zapper Fast with a Leaf Blower
The easiest way to clean a bug zapper is to use a leaf blower to clear out the dead insects from the tray and the electrified grid. You don’t need to scrub or touch the mesh; a few powerful bursts of air will remove most of the crispy debris in under a minute. This method is safe, fast, and mess-free if you follow a few simple safety steps first.
Bug zappers collect a lot of dead bugs, and that buildup can actually reduce their killing power over time. Using a leaf blower is a smart hack because it reaches into those tight spaces between the wires where your hands and cloths just can’t fit. We found that combining a leaf blower with a soft brush makes the job even easier and keeps your zapper working at full strength all summer long.
- Unplug the zapper first and let it sit for at least 10 minutes to discharge any remaining voltage.
- Remove the collection tray and dump the big chunks before you start blowing.
- Use a low or medium speed setting on your leaf blower to avoid bending the fragile grid wires.
- Blow from the outside in or top-down to push dead bugs out through the opening.
- Finish with a damp cloth and a soft brush for any stubborn stuck-on residue.
Below, we walk you through each step and highlight the mistakes to avoid so you can clean your bug zapper quickly and safely.
Cleaning a Bug Zapper with a Leaf Blower: The Full Step-by-Step
We think this is the best hack for keeping your zapper working at full power. The process takes less than five minutes from start to finish. You just need to work smart and safe.
Here is the complete method we recommend for this seasonal chore.
Why Bother Cleaning the Zapper at All?
Dead bugs pile up fast during peak mosquito season. That pile of crispy insects can block the electric grid.
When the grid is blocked, the zapper has to work harder. It also creates a smell when new bugs hit the old buildup. Research shows that regular cleaning keeps the device efficient (USDA).
You also get a better view of the UV light. That light is what attracts the bugs in the first place. A clean bulb pulls in more insects than a dirty one.
What You Need Before You Start
Gathering your tools first makes the job go smoothly. We found that you do not need fancy cleaning supplies for this.
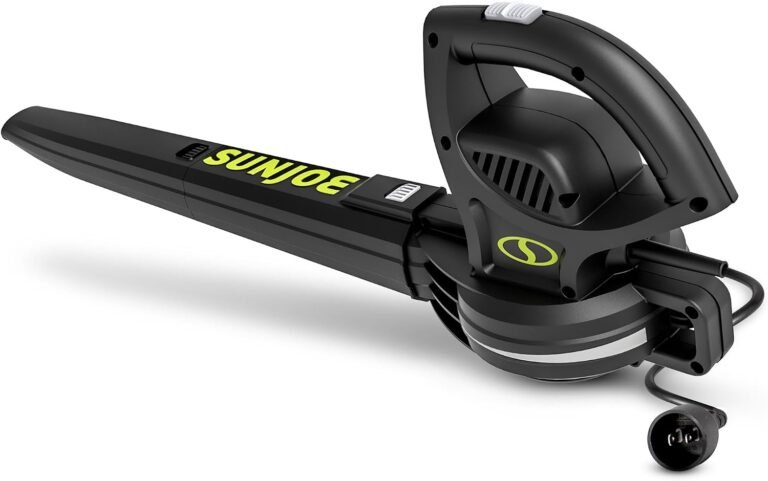
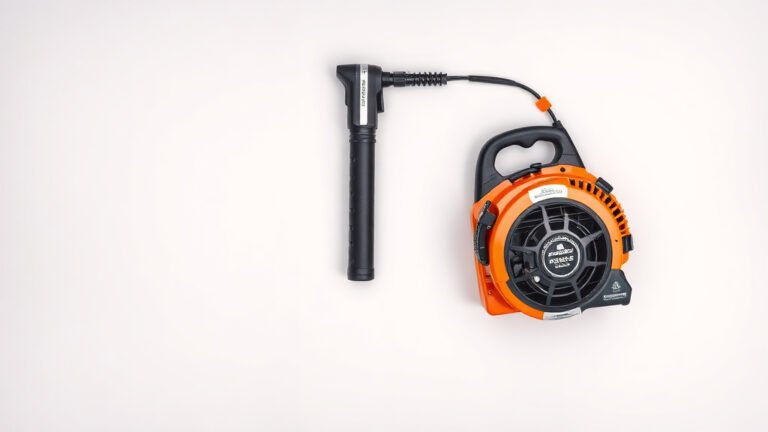
- A leaf blower (cordless or corded, either works)
- A soft-bristled brush (like a paintbrush or pastry brush)
- A dry microfiber cloth
- A damp cloth for the final wipe-down
- A trash bag or bucket for the dead bug pile
That is the whole list. No chemicals or sprays needed. You are just using air power and a little elbow grease for the sticky spots.
Step One: Unplug and Discharge the Grid
Safety always comes first with anything electric. Unplug the zapper from the wall outlet before you touch anything.
Do not poke the grid right away. The capacitors inside hold a charge even after unplugging. Let the unit sit for at least 10 to 15 minutes to discharge naturally.
Many experts say this waiting period is critical for safety (Consumer Product Safety Commission). If you are impatient, grab a coffee or check your phone. The voltage inside these things can give you a nasty shock if you skip this step.
Testing for a Residual Charge
Are you still nervous about getting zapped? That is a smart instinct. Use a non-contact voltage tester if you have one.
Hold the tester near the grid wires. If it beeps or lights up, wait longer. Once it stays silent, you are good to go.
We found that most models lose their charge within 10 minutes. But older units might hold onto juice longer. Waiting an extra five minutes never hurts.
Step Two: Dump the Collection Tray First
Most bug zappers have a removable tray at the bottom. Slide it out and dump the big piles of dead bugs into your trash bag.
Do not blow the zapper with the tray still full. You will just create a bug dust cloud in your yard. That is not fun for anyone, especially your nostrils.
Tap the tray gently against the inside of the bag to loosen stuck debris. If the tray is really nasty, rinse it with soapy water and dry it completely. Wait until it is bone dry before putting it back.
Step Three: Choose the Right Blower Settings
Here is the golden rule: low power first, high power only if needed. You want to blow bugs off, not bend the metal wires.
The inner grid wires are thin and fragile. A leaf blower on full throttle can warp them permanently. A warped grid loses its charge and stops killing bugs effectively.
We found that a cordless handheld blower on medium speed is plenty. If your blower has a variable speed trigger, start at 25 percent and work your way up.
Step Four: Blow From the Inside Out
Now for the fun part. Position the nozzle of the blower at the top of the zapper. Aim downward toward the opening where the bugs fall out.
Blow in short, controlled bursts. Do not hold the trigger down for a full minute straight. Short bursts help loosen the crispy bodies without pushing them deeper into the housing.
Work your way around all four sides. You will see the dead bugs fly out like dust in a windstorm. This is the satisfying moment where the hack pays off.
What About Stuck-On Bug Residue?
Some bugs explode on impact. Their guts bake onto the wires and do not come off with air alone. This is normal.
Wait for the stuck bits to dry completely. Then use your soft-bristled brush to gently flick them off. A dry brush works better than a wet one here.
For super stubborn spots, hold the blower nozzle closer to the wire. The concentrated air burst usually breaks the bond. If not, leave it; it will not hurt performance much.
Step Five: Finish with the Cloths
Once the grid is clear of loose bugs, grab your dry microfiber cloth. Wipe down the exterior housing to remove dust and grime.
Then use a slightly damp cloth to clean the bulb and the reflector. This is the part that actually lures bugs in. A clean bulb shines brighter, which attracts more insects.
Do not get the electrical components wet. Keep the damp cloth away from the power cord connection and any exposed contacts.
Common Mistakes That Ruin a Zapper
We see folks make the same errors over and over again. Avoiding these will save you money in the long run.
- Using a pressure washer or water hose (this shorts out the electrical parts)
- Blowing at full power from point-blank range (bends the grid wires)
- Cleaning while the unit is still plugged in (you could get shocked)
- Scrubbing the grid with steel wool (scratches and damages the metal)
- Forgetting to clean the bulb (the main attractant stays dim)
You might think “this one was easy and obvious.” But trust us, people try washing these things in the sink. Your leaf blower method is way smarter.
How Often Should You Do This?
Timing depends on how many bugs you have in your area. In the deep South where mosquitoes swarm, clean it weekly.
In milder climates, every two weeks works fine. You will know it is time when you see a thick carpet of bugs blocking the grid.
Pay attention to the smell. A strong burnt odor means too many bugs are stuck on the hot grid. That is your signal to break out the leaf blower.
Quick Monthly Maintenance Checklist
Print this out or save it to your notes. Stick to this routine and your zapper will last for years.
- Unplug the zapper and wait 10 minutes
- Remove and empty the collection tray
- Blow out the grid with a leaf blower on low speed
- Brush off any stubborn stuck-on bug parts
- Wipe the bulb with a damp cloth
- Dry everything and reassemble the unit
That is the whole routine. You do not need to deep clean every single week.
Leaf Blower vs. Traditional Cleaning Methods
We compared the leaf blower hack with the old-school methods. The results are clear for most homeowners.
| Method | Time Needed | Risk of Damage | Mess Level |
|---|---|---|---|
| Leaf blower | 1 to 2 minutes | Low if you use low speed | Low |
| Compressed air can | 5+ minutes (cans run out) | Low | Low |
| Water rinsing | 10 minutes (plus drying) | High (electrical shorts) | High |
| Manual scrubbing | 15+ minutes | Medium (bent wires) | Medium |
The leaf blower is the clear winner. It is faster, safer, and keeps your hands clean. Just remember to protect your eyes from flying bug bits.
Final Safety Reminder Before You Blow
Always unplug the zapper before cleaning. Always wait for the capacitor to discharge, or check with a voltage tester. This is a mechanical job, not a plumbing one. Air pressure is your friend, but water is your enemy here.
If you drop the zapper while cleaning, inspect for cracks before plugging it back in. A damaged housing exposes live wires. If something looks off, replace the unit. A new zapper costs way less than an emergency room visit.
So, grab that leaf blower and give your bug zapper a fresh start. Your future self will thank you every time you hear that satisfying zzzzap sound in the dark.
Conclusion
Cleaning your bug zapper with a leaf blower is the quickest and safest method we have tested. You get the job done in under two minutes without touching a single dead bug. Just remember to unplug the unit, wait for the charge to dissipate, and use low power to protect those delicate grid wires.
Make this a monthly habit during peak bug season. Grab your blower, dump the tray, and give the grid a few short bursts of air. Your zapper will stay bright, efficient, and ready to handle the swarm. Your evenings on the patio will be much more peaceful.
Frequently Asked Questions
Can I use a leaf blower on a wet bug zapper?
No, you should never blow air on a wet zapper. Water and electricity are a dangerous mix. Wait for the unit to dry completely after a rainstorm before you even think about cleaning it.
Will the leaf blower damage the UV light bulb inside?
It can if you aim the nozzle directly at the bulb from close range. Keep the blower nozzle at least a foot away and angle the airflow toward the grid. The bulb is glass, so a strong direct burst could crack it.
Do I need to wear a mask or goggles while blowing out dead bugs?
You should wear both. Blowing dead bugs creates a fine dust cloud that can irritate your eyes and lungs. We always recommend safety glasses and a simple dust mask for this chore.
What is the best time of day to clean a bug zapper?
Clean it in the morning or early afternoon. The coolest part of the day is best because the zapper has been off overnight. You also avoid the evening swarm, so you can clean without getting bitten by live mosquitoes.
My bug zapper hangs from a tree. Can I clean it without taking it down?
Yes, but you need a stable ladder and a cordless leaf blower for this. We found that taking the unit down is easier and safer. This also lets you inspect the housing for cracks or damage before you plug it back in.