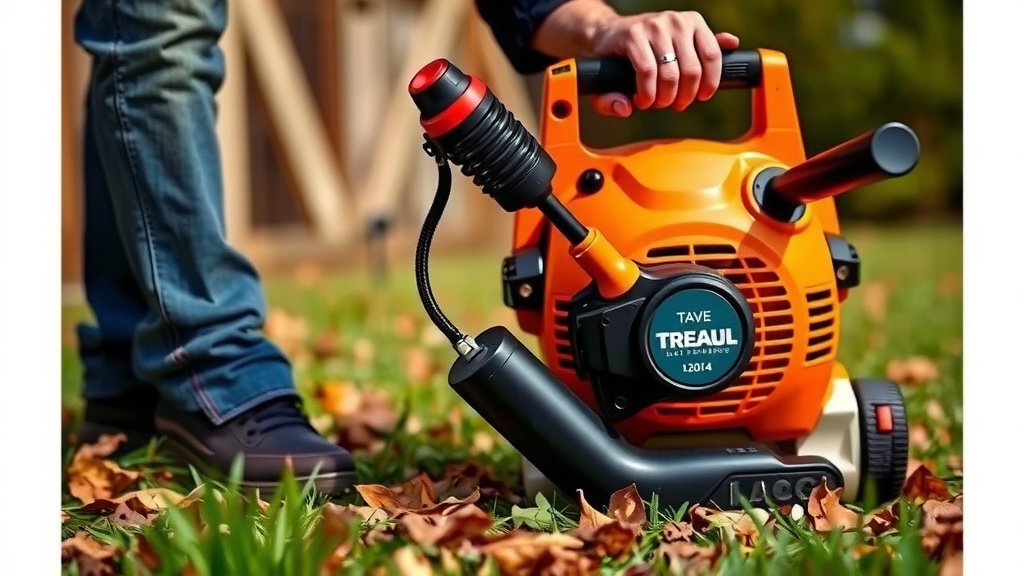
How to Attach a Bag to Your Leaf Blower
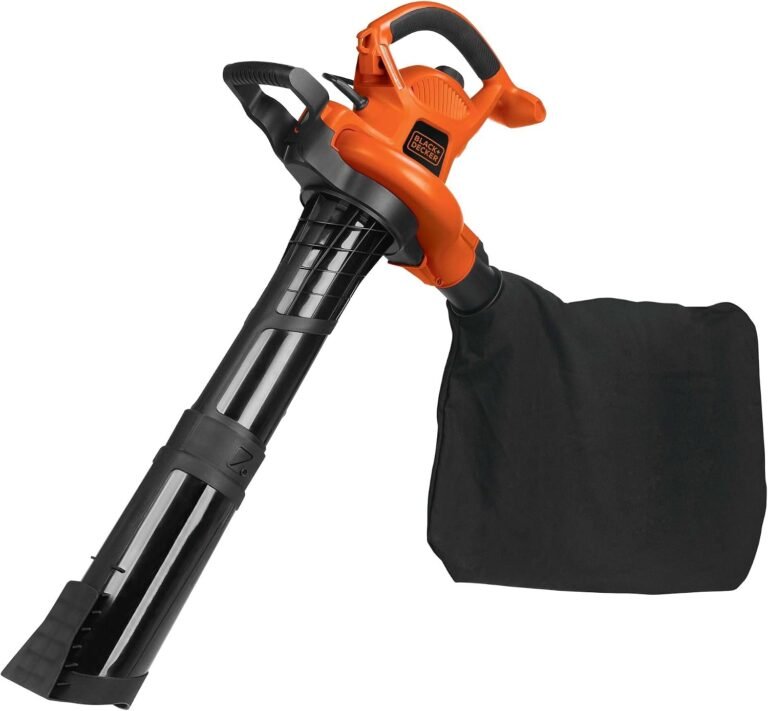
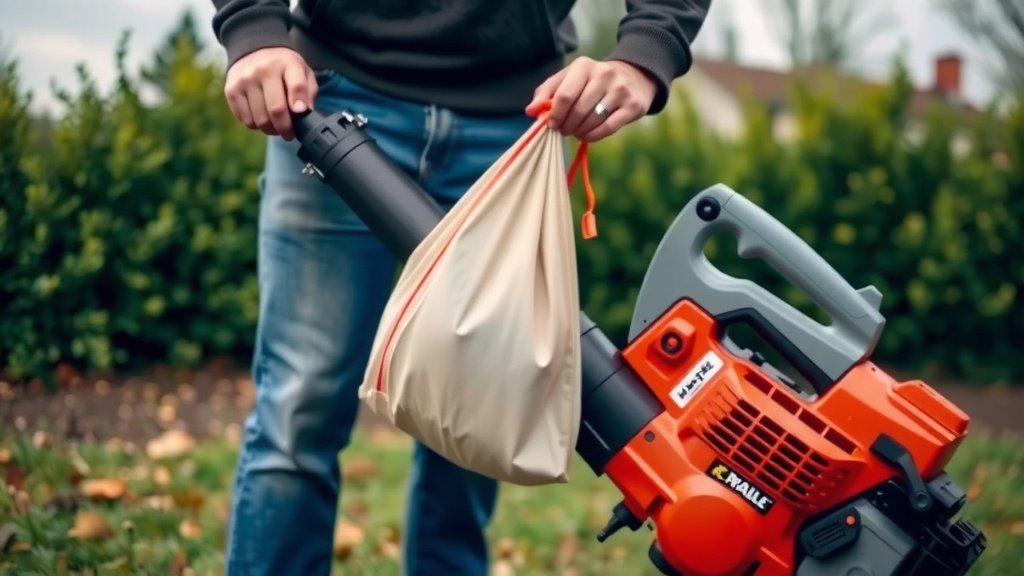
The easiest way to attach a bag to a leaf blower is to align the bag’s metal frame or collar with the blower’s exhaust chute, then hook it on and tighten the straps. You usually hear a click or feel it snap into place. Make sure the bag is fully secure before you start the engine, or you will end up with a yard full of leaves and a very frustrated you.
Getting the collection bag attached properly is key to making your leaf cleanup fast and easy. If the bag isn’t on right, you lose suction and leaves will fly everywhere. We found that most leaf blowers, whether gas or electric, use a simple attachment system that takes just a minute to figure out. You just need to know which specific setup your model has.
- Check your model: Most bags use a metal hook, a twist-lock collar, or a simple clamp.
- Align the bag’s opening with the blower’s exhaust port so they match up perfectly.
- Push or twist until you feel a firm click or snap, which means it is locked in.
- Always double-check the straps and buckles are tight before starting the machine.
- Follow the quick steps below to attach any brand safely without breaking the clips.
Below, we break down exactly how to attach your bag in just a few easy steps, along with tips to keep it locked on tight all season long.
Getting Your Leaf Blower Bag Attached the Easy Way
Let’s get right to it. The exact steps depend on your blower model, but most work the same way. You just need to match the bag’s opening to the blower’s chute and lock it in place. We found that once you do it one time, it becomes second nature.
Before you start, check your owner’s manual if you have it. This saves time and stops you from forcing anything. But if you lost the manual, no worries. The steps below cover almost every popular brand out there.
Why the Right Attachment Matters
A loose bag kills your suction power. It also lets debris fly back into your face. We found that a properly attached bag makes the job feel twice as fast. You want that bag sealed tight against the exhaust port so all the leaves go in and stay in.
Think of it like putting a trash bag on a vacuum cleaner. If the seal is weak, you pick up nothing. The same logic applies here. A good connection is your number one priority.
Common Attachment Systems on Modern Blowers
You will see three main designs across gas and electric blowers. Knowing which one you have gets you halfway there. Here is the quick breakdown we found that covers the basics:
- Hook and Post: The bag has a metal or plastic hook that slides onto a post near the blower’s nozzle.
- Twist-Lock Collar: The bag twists onto the chute like a jar lid. You turn it until it stops and locks.
- Strap and Buckle: The bag has a shoulder strap that wraps around the blower tube and tightens down.
Many models mix these systems. For example, you might hook the top and then tighten a strap at the bottom. That is normal. Just use all the connection points your blower has for a secure fit.
Step-by-Step Attachment Process for a Gas Leaf Blower
Gas blowers usually have a metal frame on the bag. This is the most common setup, so we will start here. Follow these steps in order and you will be done in under a minute.
Step 1: Locate the Exhaust Port
Find where the air blows out at the back of the blower. There is usually a metal or plastic tube sticking out. This is your connection point. The bag’s metal ring fits right over this tube.
Make sure the blower is on the ground and off. You never want to attach the bag while the engine is hot or running. Safety first, always.
Step 2: Align the Bag’s Frame
Hold the bag so the metal opening faces the blower’s exhaust. Line up the bumps or grooves on both parts. The bag should sit flat against the blower. Do not force it. If it does not line up, rotate the bag slightly until it settles.
We found that a gentle wiggle helps here. You want the metal frame to fully cover the exhaust opening. This is the key to good suction.
Step 3: Push and Lock the Connection
Push the bag straight onto the chute. You should feel it slide past a small ridge. Many bags have a clip that snaps over a lip. Listen for that click. That sound means you are locked in.
If your bag uses a hook, slide the hook under the post and push down. Then pull the bag gently to test it. If it does not move, you have a perfect connection. If it pops off, the hook is not seated correctly.
Step 4: Tighten All the Straps
Most bags have at least one strap that goes over the blower body. Pull this strap snug. Buckle it securely. You want the bag to feel like part of the machine, not a loose sack swinging around.
Check the bottom of the bag, too. Some models have a lower strap that stops the bag from bouncing. Tighten that one as well. A tight bag also reduces noise from flapping plastic.
Attaching a Bag to an Electric Leaf Blower
Electric blowers are lighter, but the attachment process is often a bit different. They usually use a twist-lock or a simple tab system. Here is how to handle those effectively.
Twist-Lock Collars on Corded and Battery Models
Line up the arrows or triangles on the bag collar and the blower chute. Push the bag on until it meets the base. Then turn the collar clockwise. It will click when fully locked. To remove it later, you press a release button and twist the other way.
We found that some users turn too hard. Stop when you hear the click. Forcing it further can crack the plastic collar. Gentle pressure is all you need.
Tab and Slot Systems for Smaller Blowers
Some compact blowers have two tabs on the chute. The bag has matching slots. Slide the tabs into the slots and push up. You will feel them catch. A small screw or latch may secure the bag in place.
These are easy to break if you twist them. Always push straight on and pull straight off. Never use the bag as a handle to carry the blower unless the manual says it is safe.
Quick Troubleshooting for a Loose Bag
So, you attached everything, but the bag still feels loose. Do not panic. We found that this is usually a simple fix. Here are the common culprits and how to solve them fast.
The Bag Keeps Falling Off Mid-Job
This usually means the locking clip is not engaging. Check for debris stuck in the connection point. A single twig can block the clip. Clear it out and try again. Also, look for a worn out rubber grommet. If the cushioning is gone, the bag will rattle loose.
Many experts say that replacing a worn grommet is a cheap fix that works wonders. You can find universal kits at most hardware stores. Just match the diameter of your exhaust tube.
Loss of Suction After Attachment
That sounds like an air leak. Put your hand around the connection point while the blower runs. If you feel air pushing out, the seal is broken. Re-seat the bag and tighten all straps again. A simple gap is the worst enemy of good leaf collection.
Also, check the bag itself for holes. Small tears happen when bags drag on the ground. Duct tape works as a quick fix, but a new bag is better for heavy use.
Helpful Table: Bag Attachment Styles by Blower Type
Here is a quick reference we put together. It helps you know what to expect before you even start.
| Blower Type | Most Common System | Attachment Motion |
|---|---|---|
| Backpack Gas | Hook and Metal Frame | Slide down and click |
| Handheld Gas | Strap and Buckle | Hook, then tighten |
| Battery Electric | Twist-Lock Collar | Push and rotate |
| Corded Electric | Tab and Slot | Slide up and latch |
Use this table as a starting point. Your specific model might vary. When in doubt, look at the connection points and match them up visually. It is usually obvious where the bag needs to go.
Pro Tips to Keep the Bag Secure All Season
You want to do this once and forget about it. A little bit of basic care goes a long way. Here are our favorite habits to keep the bag attached tight and the blower running smooth.
Check the Straps and Clips Before Every Use
Make it a habit. Thirty seconds of checking saves you a lot of frustration later. Look for cracked plastic or frayed straps. Fix small problems before they become big ones. Many guidelines point to regular maintenance as the best way to extend tool life (Consumer Reports).
We found that keeping the connection points clean is just as important. A quick wipe with a rag removes dirt that can cause slippage. This simple step keeps the locking mechanism working correctly.
Remove the Bag for Storage
Do not leave the bag attached when you store the blower. This stretches the straps and wears out the clips over time. Take the bag off and store it flat. This keeps the frame from bending. A bent frame will never attach correctly again.
Also, empty the bag after each use. Leftover damp leaves cause mold and rust. A clean, dry bag lasts for years. Hang it up in your shed or garage with the opening facing down so air can circulate.
Your Final Pre-Start Checklist
Before you pull the cord or squeeze the trigger, run through this list. We found it is the perfect way to avoid a mess. It takes about ten seconds, and it saves you from chasing leaves across the yard.
- Check that the bag is fully seated against the blower chute with no gaps.
- Listen for the click or snap of the locking clip.
- Tug the bag gently to confirm it will not detach during movement.
- Ensure all straps are pulled tight and buckled securely.
- Scan the bag for any holes, tears, or loose zippers.
- Confirm the blower is on a flat, stable surface before starting.
You are now ready to go. With the bag locked on tight, you can focus on the leaves, not on the equipment. Your yard will be clean in no time, and your back will thank you. Happy blowing.
Conclusion
Attaching your leaf blower bag is a simple skill that takes less than a minute once you know your model’s system. You just need to match the bag’s frame, collar, or tabs to the blower’s chute and lock everything down tight. The click or snap you hear is your signal that the connection is solid.
Check your straps, clear any debris from the clips, and do a quick tug test before you start. This small habit prevents most loose-bag problems you will ever run into. We found that a secure bag makes the whole job feel effortless.
Your next step is to grab your blower and try attaching the bag right now. Look at the connection points, match them up, and lock it in. Once you do it one time, you will never struggle with it again.
Frequently Asked Questions
Can I use a leaf blower bag on a different brand of blower?
Usually, no. Bags are brand-specific because the attachment points vary between manufacturers. Some universal bags exist, but they often fit poorly and hurt your suction. We recommend sticking with the bag made for your exact model.
My bag has a zipper on the bottom. What is that for?
That zipper is meant for quick emptying without removing the whole bag. You unzip it, let the leaves fall out, and zip it back up. This is a huge time saver when you are clearing a large yard.
Why does my bag keep filling with dust instead of leaves?
That usually means the bag is too full or the airflow is restricted. Empty the bag when it is about two-thirds full. You also want to check for clogs in the blower tube. A blocked tube kills the vacuum power you need for bigger debris.
Is it okay to run the leaf blower without the bag attached?
Yes, but you will lose the collection feature. The blower still works as a regular blower without the bag. You just will not be able to gather leaves into a pile for disposal. The exhaust port stays exposed, which is fine for basic blowing.
How do I clean a leaf blower bag after use?
Turn the bag inside out and shake out the dust and debris. For deeper cleaning, rinse it with a garden hose and let it air dry completely. Never store a damp bag because mold will ruin the fabric fast.